

Testing your car battery regularly is essential for maintaining your vehicle’s reliability and ensuring you’re never caught off guard by a sudden breakdown. Whether you’re a complete beginner or a seasoned DIY mechanic, knowing how to use a multimeter to test your car battery can save you time, money, and frustration.
With the right technique and understanding, you can quickly diagnose battery health, identify charging issues, and even extend the lifespan of your battery. This skill is not only practical but also empowering, giving you confidence on the road and peace of mind during extreme weather conditions.
In this comprehensive guide, you’ll learn everything you need to know about using a multimeter to test a car battery, from the most basic safety tips to advanced diagnostic methods. We’ll walk through every step with detailed explanations, real-world examples, and data-driven insights, making it accessible for beginners while offering advanced advice for enthusiasts.
By the end, you’ll understand how to interpret readings, differentiate between various battery issues, and take the right steps based on your results. Let’s get started on the journey to mastering your car battery health.
Key Takeaways
- A multimeter is a vital tool for testing car battery voltage, health, and charging system performance.
- Proper preparation and safety are crucial to avoid personal injury and prevent damage to your vehicle.
- Interpreting voltage readings accurately can help you distinguish between a healthy battery, a weak one, or a failing alternator.
- Advanced diagnostic steps empower you to test under load and check for parasitic drain, ensuring a thorough assessment.
- Routine battery testing enhances vehicle reliability, prevents unexpected breakdowns, and can extend battery life.

Credit: www.youtube.com
Understanding Car Batteries And Multimeters
Car batteries and multimeters are at the heart of basic automotive diagnostics. Before testing, it’s important to understand what you’re working with and why these tools matter.
What Is A Car Battery?
A car battery is a rechargeable lead-acid battery that supplies electrical energy to a vehicle. Its primary role is to power the starter motor, ignition system, and electronic accessories when the engine is off. Most modern vehicles use a 12-volt battery, typically consisting of six cells producing about 2.1 volts each.
Key car battery functions:
- Starts the engine
- Powers onboard electronics (e.g., lights, audio, sensors)
- Stabilizes voltage to keep your car’s electrical system running smoothly
Types Of Car Batteries
There are several types of car batteries, each with unique characteristics:
| Battery Type | Common Use | Maintenance | Typical Lifespan |
|---|---|---|---|
| Flooded Lead-Acid | Most passenger vehicles | Requires water topping | 3-5 years |
| AGM (Absorbed Glass Mat) | Start-stop systems, luxury cars | Maintenance-free | 4-7 years |
| Gel Cell | Specialty & off-road vehicles | Maintenance-free | 2-5 years |
| Enhanced Flooded (EFB) | Eco-friendly, start-stop vehicles | Low maintenance | 4-6 years |
What Is A Multimeter?
A multimeter is a handheld instrument used to measure electrical properties such as voltage, current, and resistance. For car battery testing, you’ll primarily use it in DC voltage mode.
Types of multimeters:
- Analog multimeters: Use a needle and scale, less common today.
- Digital multimeters (DMM): Provide a numerical display, more accurate and user-friendly.
Why Use A Multimeter For Battery Testing?
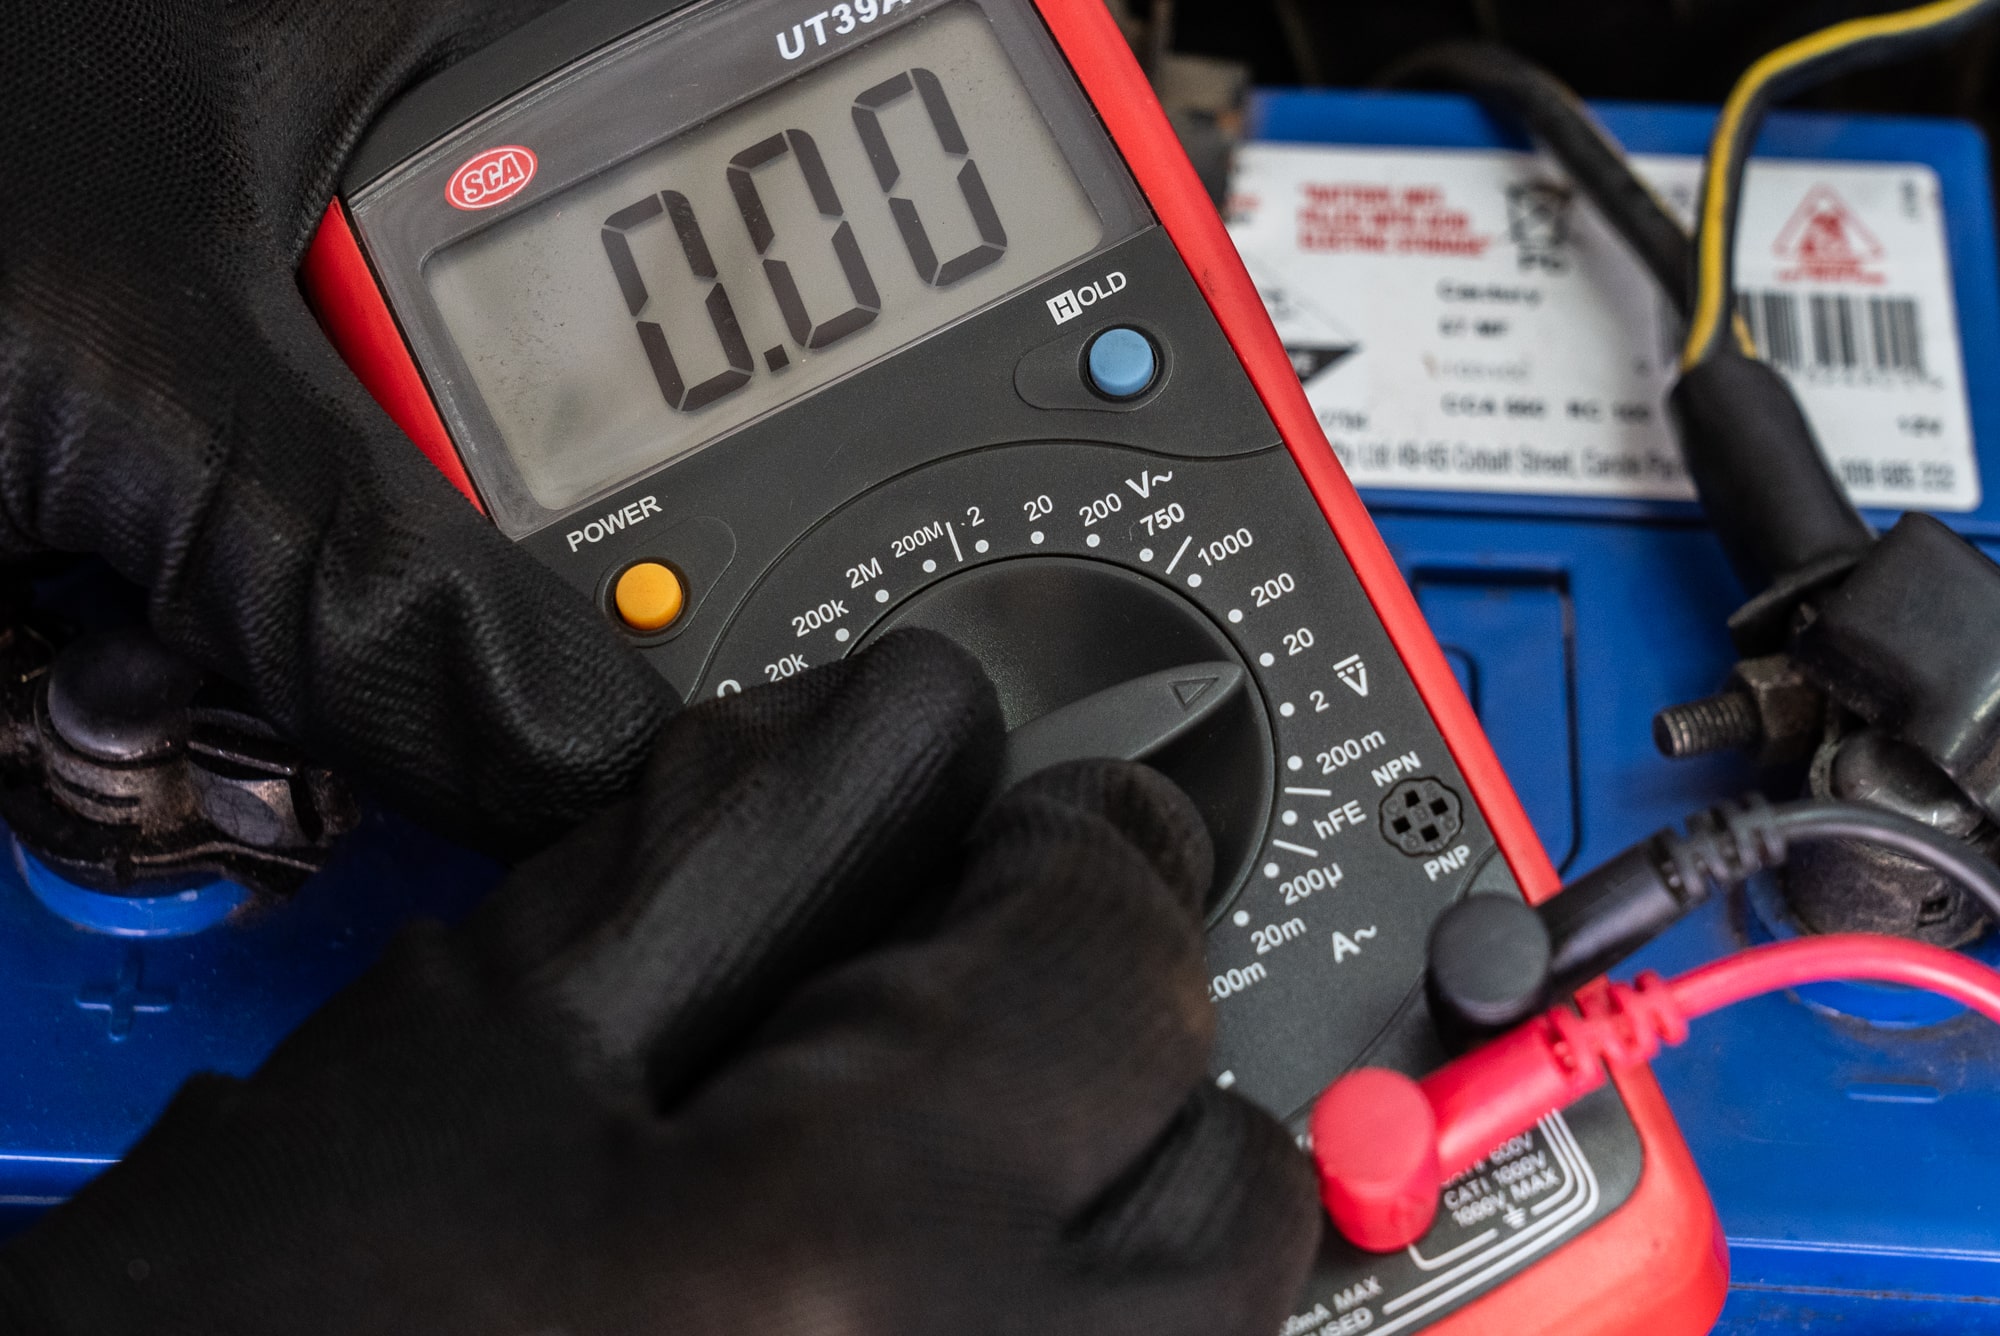
Using a multimeter gives you precise, real-time data on your battery’s condition. Unlike built-in car diagnostics, a multimeter can:
- Detect early signs of battery failure
- Identify charging system issues
- Reveal hidden electrical drains
Pro Tip: Regular battery checks with a multimeter can catch problems before they leave you stranded.
Credit: www.supercheapauto.com.au
Safety Precautions And Preparation
Testing a car battery involves direct contact with electrical circuits and potentially hazardous materials. Always prioritize safety to protect yourself and your vehicle.
General Safety Guidelines
- Wear safety goggles and gloves to protect against acid splashes and electrical sparks.
- Work in a well-ventilated area, battery gases are flammable.
- Keep metal tools away from battery terminals to prevent short circuits.
- Turn off the engine and all accessories (lights, radio, etc.) Before starting.
Preparing Your Tools
To test your car battery, you’ll need:
- Digital multimeter (with fresh batteries)
- Owner’s manual (for battery location and specifications)
- Protective gear: Gloves, goggles, and clothing that covers skin
- Cleaning supplies: A wire brush or terminal cleaner, if needed
Check your multimeter for:
- Functionality (does it power on?)
- Working test leads (no cracks, frays, or corrosion)
- Correct fuse installed (if your model uses one)
Locating And Inspecting The Battery
Most car batteries are under the hood, but some vehicles place them in the trunk or under the rear seat. Consult your owner’s manual for exact location.
Before testing:
- Visually inspect the battery for cracks, bulges, or corrosion.
- Check the terminals for tightness and cleanliness.
- Look for leaks or signs of acid residue.
If you find any of these issues, address them before proceeding with electrical testing.
Ensuring Multimeter Readiness
Set your multimeter to measure DC voltage (often denoted as “V” with a solid and dashed line). Choose a range that includes 20 volts if your device is not auto-ranging.
Example: On most digital multimeters, turn the dial to “20V DC”.
Step-by-step Guide: Using A Multimeter To Test Car Battery
Testing your car battery with a multimeter is straightforward, but accuracy depends on following each step carefully. Here’s a clear, beginner-friendly process with expert tips woven in.
Step 1: Set Your Multimeter
- Turn the dial to “DC Voltage” (look for a V with a straight and dashed line).
- If your multimeter is not auto-ranging, select the 20V range to capture readings up to 20 volts.
Pro Tip: Some advanced multimeters have a dedicated “Auto” function, let the tool choose the correct range for you.
Step 2: Connect The Test Leads
- Red lead: Plug into the “VΩmA” port (positive).
- Black lead: Plug into the “COM” port (common/ground).
Ensure the leads are securely connected to avoid inaccurate readings.
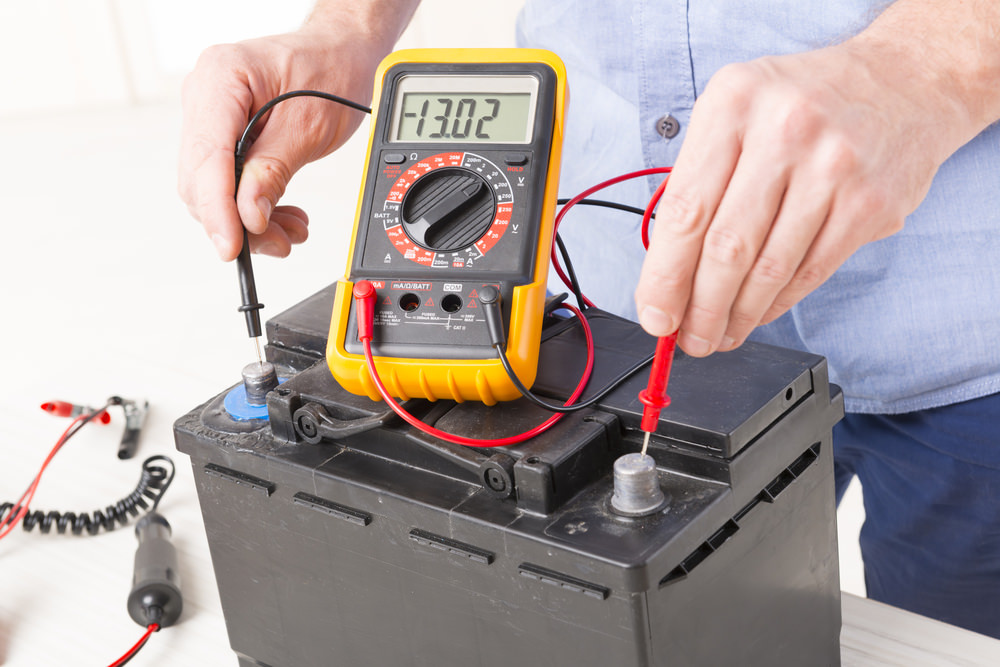
Step 3: Attach Leads To Battery Terminals
- Red lead to positive terminal (+)
- Black lead to negative terminal (, )
Touch the metal tip directly onto the battery posts, not the cable clamps, for the most accurate measurement.
Warning: Never allow the metal parts of the leads to touch each other while connected to the battery. This can cause a short circuit.
Step 4: Read And Record The Voltage
- Observe the display: A healthy, fully charged 12V battery should read between 12.6 and 12.8 volts.
- Record the voltage for reference.
If the reading is:
- 12.6V, 12.8V: Battery is fully charged and healthy.
- 12.4V, 12.6V: Battery is moderately charged.
- 12.0V, 12.4V: Battery is low, may need charging.
- Below 12.0V: Battery is significantly discharged or failing.
| Measured Voltage | Battery State | Action Required |
|---|---|---|
| 12.6V, 12.8V | Fully Charged | No action needed |
| 12.4V, 12.6V | Partially Charged | Monitor, consider charging |
| 12.0V, 12.4V | Low Charge | Recharge battery soon |
| Below 12.0V | Discharged/Weak | Recharge or replace |
Step 5: Interpret Results
A voltage reading alone doesn’t tell the whole story. For a deeper assessment, consider:
- How long the battery has been unused (surface charge can elevate voltage temporarily)
- The age of the battery (older batteries may show false positives)
- Recent charging (measure after the car has been off for at least 30 minutes)
Example: In my experience, I’ve seen batteries measure 12.7V right after charging, but drop to 12.2V after sitting for a few hours, indicating underlying issues.
Step 6: Advanced, Testing Under Load
For advanced users, testing the battery under load provides a more realistic picture of its health.
- Keep the multimeter leads connected.
- Turn on the headlights (engine off) for 2 minutes.
- Observe the voltage drop:
- If it stays above 12.2V: Battery is good.
- If it drops below 12.0V: Battery may be weak.
This simulates the battery’s ability to supply power under stress.
Step 7: Advanced, Cranking Test
This test evaluates the battery’s performance while starting the engine.
- Keep the multimeter connected as before.
- Have a helper start the engine.
- Watch the voltage:
- It should not drop below 9.6V during cranking.
If it does, the battery cannot deliver enough current under load and may need replacement.
Common Mistakes To Avoid
- Forgetting to switch the multimeter to DC voltage
- Placing leads on corroded or dirty terminals
- Testing immediately after charging or driving (wait at least 30 minutes)
- Mixing up positive and negative leads
Pro Tip: Always double-check your multimeter settings and lead placement before recording results.
Credit: executivetowingservices.com.au
Interpreting Results: What Your Readings Mean
Understanding what your multimeter readings indicate is crucial for making informed decisions about your battery’s health and your vehicle’s electrical system.
Healthy Battery Indicators
A healthy, fully charged battery typically shows:
- 12.6V to 12.8V at rest
- Remains above 12.2V under a moderate load (e.g., headlights on for a few minutes)
- Cranking voltage above 9.6V
If your readings align with these values, your battery is in good condition.
Signs Of A Weak Or Failing Battery
Watch for these warning signs:
- Resting voltage below 12.4V
- Significant voltage drop under load
- Cranking voltage below 9.6V
Common causes include:
- Age (over 3-5 years for standard lead-acid)
- Repeated deep discharges
- Extreme temperatures
If you see these symptoms, plan for a replacement soon.
Diagnosing Charging System Issues
If your battery is consistently low, the problem may be with your vehicle’s alternator or charging system. To check:
- Start the engine and measure battery voltage.
- A healthy charging system should raise voltage to 13.7V, 14.7V.
If you see less than 13. 7V, your alternator may be undercharging. Over 14. 7V can indicate overcharging, which damages the battery.
Example: When I tested a friend’s car, the resting voltage was fine, but running voltage was only 12.8V, pointing to a failing alternator.
Identifying Parasitic Drain
Parasitic drain is when electrical components draw power while the car is off, slowly discharging the battery. Signs include:
- Battery voltage drops significantly overnight
- Car struggles to start after sitting unused
Advanced users can use the multimeter’s current (amperage) mode to identify excessive drain.
Advanced Battery Testing Techniques
For those seeking a deeper understanding or facing persistent issues, advanced diagnostics go beyond simple voltage checks.
Load Testing With A Multimeter
While a dedicated load tester is best, you can simulate a basic load test with your multimeter:
- Connect leads to the battery.
- Turn on high-draw accessories (headlights, blower fan, rear defroster).
- Note how much the voltage drops.
- A healthy battery: Voltage stays above 12.2V.
- A weak battery: Voltage quickly drops below 12.0V.
Warning: Do not run accessories for more than a few minutes without the engine running, or you may drain the battery further.
Performing A Parasitic Draw Test
- Switch the multimeter to DC amperage mode.
- Disconnect the negative battery cable.
- Connect the black lead to the negative battery post, red lead to the cable.
- Observe the current draw:
- Normal: Less than 50 milliamps (0.05A)
- Excessive: More than 100 milliamps (0.1A)
If you see high current draw, start pulling fuses one by one until it drops, this reveals the offending circuit.
Comparing Battery Types And Multimeter Models
Different battery chemistries and multimeter designs can affect your results and testing methods. Here’s a practical comparison:
| Feature | Flooded Lead-Acid | AGM | Gel | Basic DMM | Advanced DMM |
|---|---|---|---|---|---|
| Resting Voltage | 12.6V | 12.8V | 12.85V | ±0.1V accuracy | ±0.01V accuracy |
| Load Test Tolerance | 12.2V | 12.4V | 12.5V | Manual range | Auto-range, data logging |
| Maintenance | High | Low | Low | Basic features | Advanced features |
Temperature Effects On Testing
Battery voltage readings can vary with temperature:
- Cold weather: Batteries deliver less current, voltage may read lower.
- Hot weather: Accelerates battery degradation, but voltage readings may appear normal.
Always factor in ambient temperature when interpreting your results.
Real-world Case Study
Example: In a 2019 survey by AAA, nearly one-third of roadside assistance calls were battery-related. When I tested my own vehicle during winter, a resting voltage of 12.3V meant the car started sluggishly. Recharging and replacing an aging battery restored reliable starts.
Troubleshooting Common Battery And Multimeter Issues
Even with the right tools and knowledge, problems can occur. Here’s how to address the most frequent issues encountered during battery testing.
Multimeter Shows No Reading
If your multimeter display doesn’t change when connected:
- Confirm the device is on and set to DC voltage
- Check leads for damage
- Inspect the battery terminals for corrosion or looseness
Try measuring a known voltage source (like a household battery) to verify multimeter function.
Reading Fluctuates Or Seems Inaccurate
- Make sure leads are pressed firmly against clean battery posts
- Avoid touching both leads with your hands, which can introduce resistance
- Test with engine off and all accessories off
If readings remain unstable, replace your multimeter’s internal battery or test another vehicle’s battery.
Battery Voltage Is Good, But Car Won’t Start
A healthy voltage reading doesn’t guarantee the battery can deliver enough current. Other causes include:
- Bad starter motor
- Faulty ignition switch
- Loose or corroded battery cables
Test under load or try a jump-start to further narrow down the issue.
Multimeter Safety Issues
- Never test amperage directly across the battery terminals, this can blow the fuse or damage the meter.
- If unsure, consult your multimeter’s manual or seek professional help.
Pro Tip: If you encounter persistent electrical problems, a certified mechanic with advanced diagnostic equipment may be necessary.
Maintenance Tips For Prolonging Battery Life
Taking care of your car battery and electrical system can add years to its lifespan and improve reliability.
Regular Inspection And Cleaning
- Inspect terminals monthly for corrosion or looseness.
- Clean terminals with a wire brush and baking soda solution.
- Check electrolyte level (if applicable) and top up with distilled water.
Routine Testing
- Test battery voltage every 2, 3 months, especially before long trips or during seasonal changes.
- After any electrical repairs or jump-starts, recheck battery health.
Preventing Deep Discharge
- Avoid leaving lights or accessories on when the engine is off.
- Address slow engine cranking or dim headlights immediately.
Safe Storage Practices
- If storing your car for extended periods, disconnect the battery or use a trickle charger.
- Store batteries in a cool, dry place, away from direct sunlight.
When To Replace Your Battery
Most car batteries last 3-5 years. Replace if you notice:
- Frequent jump-starts needed
- Visible swelling or leaks
- Consistently low voltage readings
For environmental safety, recycle old batteries at an authorized center. The U.S. Environmental Protection Agency provides guidelines on proper disposal.
Real-world Examples And Expert Insights
Learning from real-world scenarios helps solidify your understanding and prepares you for unexpected situations.
Example 1: Diagnosing Intermittent Starting Problems
A driver experiences occasional no-start issues, especially after leaving the car parked overnight. A voltage check shows 12. 7V at rest, but a load test drops it to 11. 8V. The battery is only two years old, but the voltage drop reveals a weak cell, replacement solves the problem.
Example 2: Identifying Parasitic Drain
Another vehicle’s owner notices the battery dying after a weekend of inactivity. Using a multimeter in amperage mode, they find a 0. 18A draw with everything off. Pulling fuses reveals a glove box light staying on. Fixing the switch reduces the draw to 0.
03A, and the battery holds a charge.
Example 3: Checking The Charging System
After installing a new battery, a car repeatedly shows low voltage. Testing with the engine running reveals only 12. 6V at the terminals, far below the expected 14V. Diagnosis points to a failing alternator, which is replaced to restore proper charging.
Expert Insight
According to Wikipedia’s automotive battery guide, regular battery testing and maintenance are among the most effective ways to prevent roadside breakdowns and ensure vehicle longevity.
Frequently Asked Questions
How Often Should I Test My Car Battery With A Multimeter?
It’s best to check your car battery’s voltage every 2, 3 months, and before long trips or after experiencing starting issues. If you live in an area with extreme temperatures, consider more frequent checks, as both heat and cold can accelerate battery deterioration.
Can A Multimeter Test Battery Capacity Or Just Voltage?
A standard multimeter measures only voltage and, with the right procedure, current. It doesn’t directly measure capacity (amp-hours). For a true capacity test, you’d need a battery analyzer or load tester, which applies a controlled load to evaluate how much charge the battery can store and deliver.
Is It Safe To Test A Car Battery Without Removing It From The Vehicle?
Yes, it’s both safe and standard practice to test a car battery while it’s installed in the vehicle. Just ensure the engine is off and all electronics are powered down. Removing the battery is only necessary for more advanced tests or if you need to replace or deep-clean it.
What Does A Voltage Reading Above 12.9v Mean?
A voltage reading above 12. 9V with the engine off may indicate that the battery was just charged or there’s a surface charge present. Wait 30 minutes after driving or charging before testing. If the high reading persists, it could signal an overcharging alternator, which can damage the battery.
Can I Use A Multimeter To Test Other Car Electrical Components?
Absolutely. A multimeter is a versatile tool that can test fuses, alternators, sensors, and wiring for continuity, voltage, and resistance. Always refer to your vehicle’s wiring diagrams and the multimeter’s manual for proper settings and procedures.
Maintaining your car battery with regular multimeter checks is an invaluable skill for every driver. From basic safety to advanced diagnostics, these