
A soldering iron that refuses to stick is a common yet frustrating issue for hobbyists, electronics professionals, and DIY enthusiasts. Whether you’re assembling circuit boards, repairing wires, or working on intricate electronic projects, a soldering iron that doesn’t adhere properly can stall productivity and compromise the quality of your work.
The challenge can range from minor inconveniences, such as solder not bonding to the tip, to significant problems like failed connections and damaged components.
Understanding why your soldering iron isn’t sticking is essential for efficient troubleshooting. A combination of factors, such as tip contamination, incorrect temperatures, poor-quality solder, or improper technique, can contribute to this problem. This article will provide actionable solutions backed by real-world examples, expert advice, and data-driven comparisons, ensuring you get your soldering iron working optimally again.
By the end, you’ll have a comprehensive guide to diagnosing, fixing, and preventing soldering iron adhesion issues, tailored for both beginners and seasoned professionals.
Key Takeaways
- Soldering iron not sticking is often caused by tip contamination, improper temperature, or low-quality solder.
- Regular maintenance and cleaning of the soldering tip are crucial for reliable performance.
- Choosing the right solder and flux can dramatically improve adhesion.
- Real-world troubleshooting involves evaluating both technique and equipment.
- Understanding and adjusting temperature settings resolves many sticking issues.
- Preventative steps and routine care extend the lifespan of your soldering iron and improve results.

Credit: www.youtube.com
Understanding The Soldering Process
The foundation of successful soldering lies in understanding the physical and chemical interactions at play. When heated, solder melts and flows onto surfaces, forming an electrical and mechanical bond. For this bond to form effectively, the soldering iron’s tip must be clean, heated to the correct temperature, and in contact with surfaces that are adequately prepared.
The Role Of Temperature
The optimal soldering temperature typically ranges from 350°C to 400°C (662°F to 752°F), depending on the type of solder and components. If the tip is too cold, solder won’t melt or bond correctly. If too hot, it can burn off flux or damage components. Accurate temperature control is vital.
Solder And Flux Compatibility
Most electronics use lead-based (SnPb) or lead-free (SAC305) solder. Each has distinct melting points and adhesion properties. Flux, either built-in (rosin core) or applied separately, cleans surfaces and promotes bonding. Poor compatibility between solder and flux leads to sticking issues.
Surface Preparation
Both the soldering iron tip and the target surfaces must be free of oxidation, oils, and contaminants. Even minute residues can prevent solder from sticking. Proper cleaning and preparation are essential for successful soldering.
Common Reasons Why Soldering Iron Won’t Stick
Diagnosing the cause is the first step toward resolution. Here are the most frequent culprits behind a soldering iron not sticking:
Tip Oxidation And Contamination
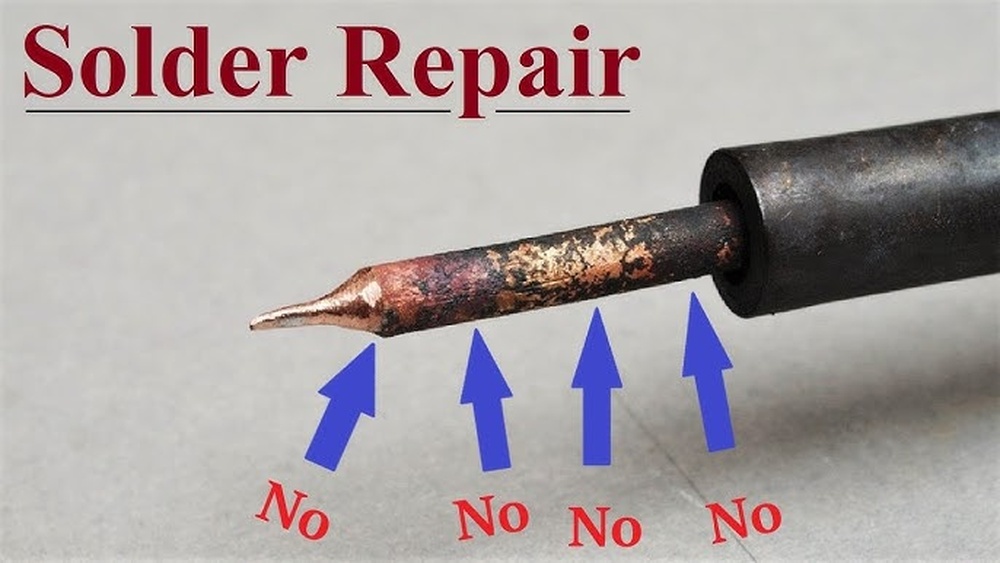
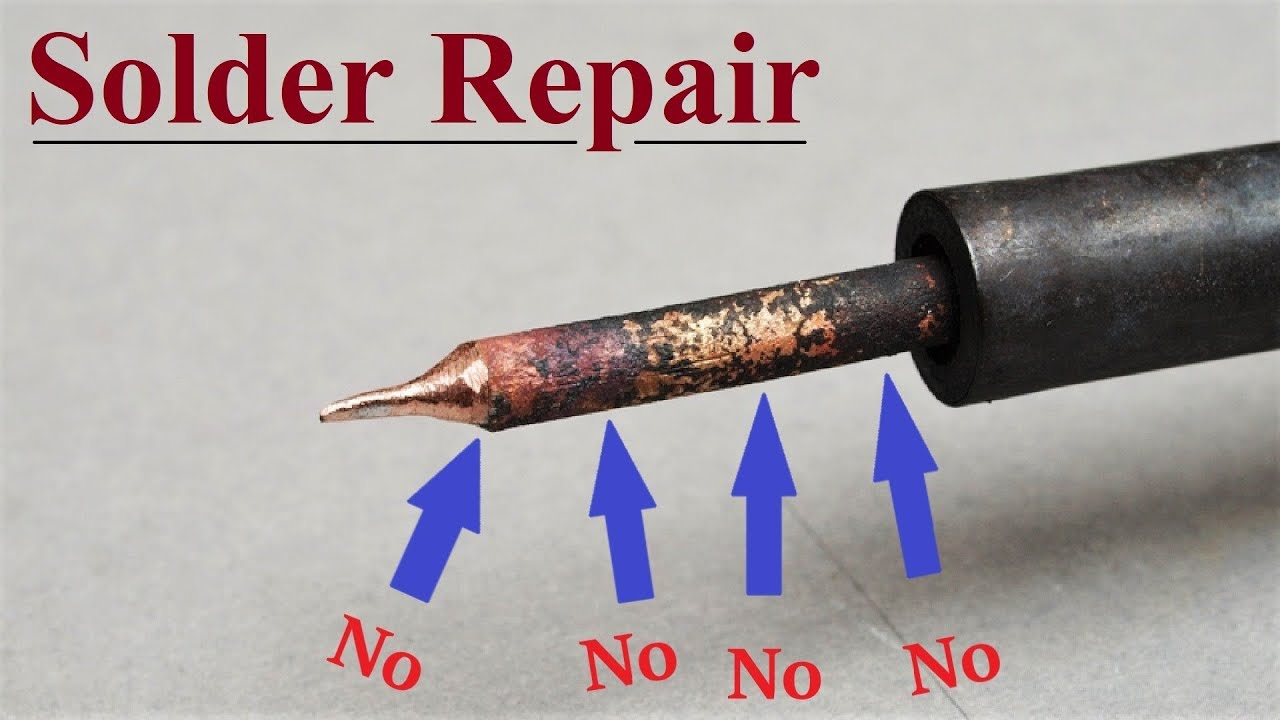
Oxidation occurs when the tip reacts with air, forming a dull, blackened surface that repels solder. Contamination from previous projects, flux residues, or burned solder can further prevent adhesion.
- Signs: Solder balls up, doesn’t flow, or rolls off the tip.
- Solution: Regular cleaning with a brass sponge or tip cleaner.
Incorrect Temperature Setting
Using a soldering iron at the wrong temperature is a leading cause of sticking issues.
- Too low: Solder fails to melt or bond.
- Too high: Flux burns off, and surfaces oxidize rapidly.
Poor-quality Solder Or Flux
Cheap, impure solder may contain contaminants or lack proper flux, making adhesion difficult.
- Signs: Solder doesn’t melt evenly, smoke or unusual odors.
- Solution: Use reputable brands and ensure flux compatibility.
Damaged Or Worn Soldering Tip
Tips degrade over time, especially if used aggressively or cleaned with abrasive methods. Pitted, chipped, or misshapen tips won’t transfer heat effectively.
- Signs: Uneven heating, solder refuses to stick, visible damage.
- Solution: Replace the tip if necessary.
Inadequate Surface Preparation
Dirty, greasy, or oxidized surfaces prevent solder from sticking.
- Signs: Solder sits on top without bonding.
- Solution: Clean surfaces with isopropyl alcohol or flux.
Credit: www.youtube.com
Diagnosing The Problem: Step-by-step Guide
Effective troubleshooting involves systematic checks and tests. Here’s a proven approach to identifying why your soldering iron isn’t sticking:
Step 1: Inspect The Soldering Tip
- Look for discoloration, blackening, or buildup.
- Test with fresh solder, does it adhere or roll off?
Step 2: Check Temperature Settings
- Use a thermometer or soldering station display.
- Adjust in increments of 10°C until solder melts and flows.
Step 3: Assess Solder And Flux Quality
- Try a different solder or flux brand.
- Compare results with known-good materials.
Step 4: Evaluate Surface Preparation
- Clean the work area thoroughly.
- Apply a small amount of flux and attempt soldering.
Step 5: Review Technique
- Ensure correct angle and pressure.
- Heat both the joint and the component evenly.
| Diagnostic Step | Common Finding | Recommended Action |
|---|---|---|
| Tip Inspection | Oxidized or dirty tip | Clean or replace tip |
| Temperature Check | Too low/high temperature | Adjust settings |
| Solder/Flux Quality | Impure or incompatible materials | Switch to reputable brands |
| Surface Prep | Dirty or oxidized surfaces | Clean with alcohol or apply flux |
| Technique Review | Incorrect angle or pressure | Adjust technique |
Credit: www.youtube.com
How To Fix Soldering Iron Not Sticking: Practical Solutions
Once diagnosed, apply targeted fixes to restore your soldering iron’s performance. Here are actionable solutions for each root cause.
Cleaning And Restoring The Soldering Tip
- Use a brass sponge or tip cleaner to remove oxidation.
- Avoid abrasive cleaning (sandpaper) which damages the tip.
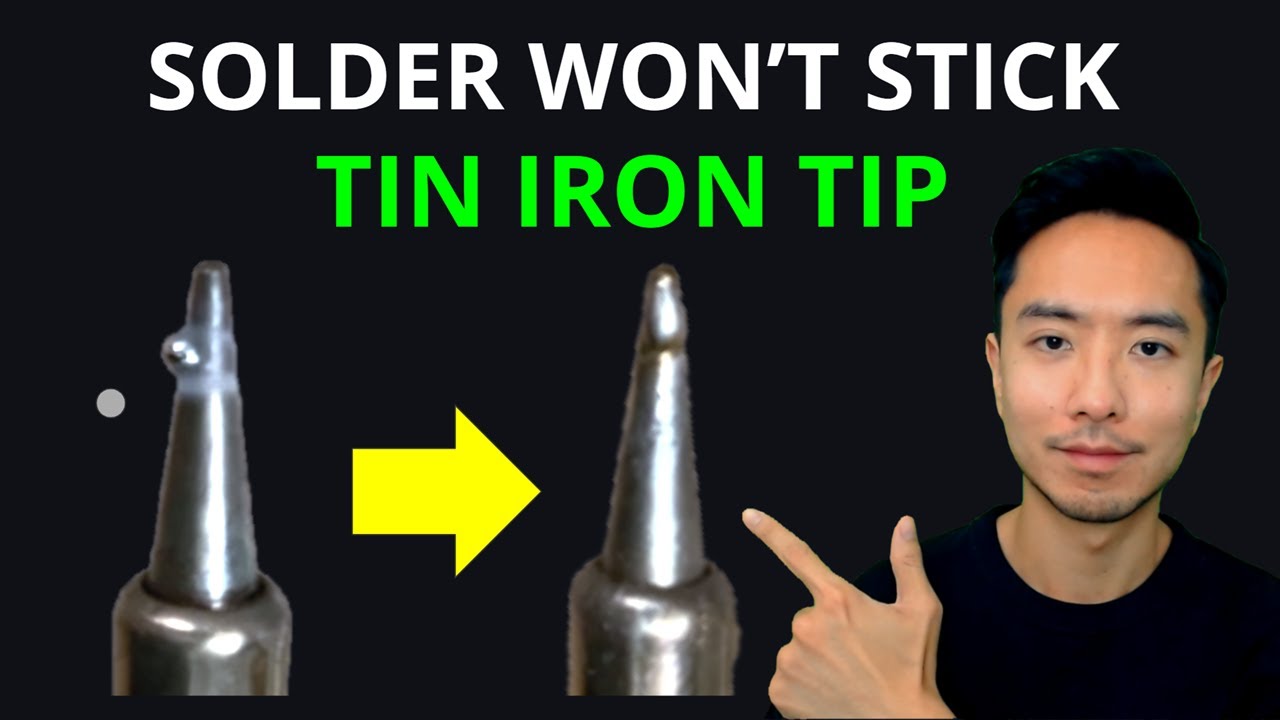
- Apply a small amount of fresh solder to “tin” the tip, creating a shiny surface.
Example: During a PCB assembly, I noticed solder rolling off my iron’s tip. After cleaning with a brass sponge and re-tinning, the solder adhered perfectly, saving hours of troubleshooting.
Adjusting Temperature Settings
- Refer to manufacturer guidelines for optimal temperatures.
- Use a digital soldering station for precise control.
- Experiment with slight increases or decreases to achieve flow without burning flux.
Using Quality Solder And Flux
- Invest in brand-name solder (e.g., Kester, MG Chemicals).
- For lead-free solder, ensure adequate flux content.
- Test with both rosin core and external flux for best results.
Replacing Damaged Tips
- Purchase genuine replacement tips matching your iron model.
- Install and tin immediately to prolong life.
- Avoid overheating new tips, which accelerates wear.
Improving Surface Preparation
- Clean all components with isopropyl alcohol.
- Use flux to remove oxidation from copper pads and wires.
- Avoid touching cleaned surfaces with bare hands.
Refining Technique
- Hold the iron at a 45-degree angle for optimal heat transfer.
- Heat both the pad and the lead before applying solder.
- Use minimal pressure, let the heat do the work.
Real-world Examples And Case Studies
Practical experiences highlight how these fixes work in various contexts.
Example 1: Hobbyist Pcb Repair
A hobbyist working on a vintage radio PCB encountered sticking issues. The tip was heavily oxidized after years of use. Cleaning with a brass sponge and applying fresh solder restored adhesion, allowing successful repairs.
Example 2: Professional Electronics Workshop
In a professional workshop, switching from low-cost solder to a reputable brand improved both adhesion and reliability. Technicians reported fewer cold joints and faster assembly times.
Example 3: Diy Wire Splicing
A DIY enthusiast splicing automotive wires found that cleaning the wire surfaces with alcohol and applying flux eliminated sticking problems. Proper technique led to strong, reliable joints.
Comparing Soldering Materials And Equipment
Choosing the right materials and tools can significantly affect soldering performance. Below is a comparison of solder types and soldering stations.
| Material/Equipment | Performance | Ease of Use | Recommended For |
|---|---|---|---|
| Lead-Based Solder (SnPb) | Excellent adhesion | Easy to work with | Hobbyists, professionals |
| Lead-Free Solder (SAC305) | Good, requires higher temp | Moderate | Environmentally conscious, industry |
| Rosin Flux | Effective cleaning | Simple application | Most electronics |
| Digital Soldering Station | Precise control | Easy adjustments | Frequent users |
| Basic Soldering Iron | Less control | Manual tuning | Occasional users |
Preventative Maintenance And Long-term Care
Routine maintenance prevents soldering iron sticking issues and extends tool life. Here are best practices for keeping your equipment in top condition.
Regular Tip Cleaning
- Clean the tip after every use with a brass sponge.
- Avoid wet sponges, which can shock and degrade the tip.
Proper Storage
- Store the iron in a stand, tip facing down.
- Cover the tip with a layer of solder before storage to prevent oxidation.
Scheduled Tip Replacement
- Replace tips every 6-12 months for frequent users.
- Inspect tips for wear and damage regularly.
Using Compatible Materials
- Match solder and flux to your specific application.
- Avoid mixing lead-based and lead-free solders.
Advanced Troubleshooting Techniques
For persistent issues, advanced methods may be necessary.
Using Tip Activator
Tip activator compounds restore heavily oxidized tips. Apply as directed, then clean and tin the tip.
Measuring Tip Temperature
Infrared thermometers or built-in station displays provide accurate temperature readings. Adjust as needed.
Checking For Electrical Faults
Faulty soldering irons may have inconsistent heating or electrical issues. Test with a multimeter and consult manufacturer guidelines.
Professional Repair Services
For expensive or specialized soldering equipment, professional repair may be more cost-effective than replacement. Seek authorized service centers.
Soldering Iron Brands And Product Comparison
Selecting high-quality soldering irons and accessories reduces sticking issues. Here’s a comparison of popular brands:
| Brand | Reliability | Price Range | Features |
|---|---|---|---|
| Hakko | High | $80-$250 | Digital control, quick heat-up |
| Weller | High | $60-$200 | Wide tip selection, durable |
| TS100 | Medium | $50-$100 | Portable, programmable |
| Generic | Low | $15-$40 | Basic functionality |
Pro Tip: Investing in a reputable brand can reduce maintenance needs and improve soldering quality. For detailed brand comparisons, consult reviews from authoritative sources such as Wikipedia.
Safety Considerations And Best Practices
Safety is paramount when troubleshooting and repairing soldering irons.
Personal Protective Equipment
- Wear safety glasses to protect from splashes.
- Use heat-resistant gloves if necessary.
Ventilation
- Always solder in a well-ventilated area.
- Use fume extractors to avoid inhaling flux fumes.
Handling Chemicals
- Store flux and cleaning agents away from children and pets.
- Dispose of used materials according to local regulations.
Electrical Safety
- Unplug soldering irons when not in use.
- Inspect cords and plugs for damage.
For comprehensive safety guidelines, refer to official standards from organizations such as OSHA.
Frequently Asked Questions
What Should I Do If The Soldering Iron Tip Is Blackened And Won’t Accept Solder?
A blackened tip indicates oxidation. Use a brass sponge or tip cleaner to remove the layer, then “tin” the tip with fresh solder. If the tip remains resistant, try a tip activator compound or consider replacing it.
Can I Use Sandpaper Or A File To Clean My Soldering Iron Tip?
Using abrasive tools like sandpaper or files can damage the tip’s protective coating, reducing lifespan and heat transfer efficiency. Stick to brass sponges, tip cleaners, or dedicated tip cleaning compounds for best results.
Why Does My Soldering Iron Work On Some Materials But Not Others?
Different materials have varying levels of conductivity and surface cleanliness. Copper and tin-plated surfaces bond easily, while oxidized or greasy surfaces repel solder. Clean all surfaces thoroughly and use appropriate flux to enhance adhesion.
How Often Should I Replace My Soldering Iron Tip?
Tip replacement frequency depends on usage and care. For frequent users, replacing tips every 6-12 months is recommended. Signs of wear, pitting, or persistent sticking issues indicate it’s time for a new tip.
Are Lead-free Solders Harder To Work With Than Lead-based Ones?
Lead-free solders generally require higher temperatures and may be less forgiving, especially for beginners. However, they are safer and environmentally friendly. Using compatible flux and adjusting your technique can mitigate difficulties.
Proper soldering is a blend of knowledge, technique, and equipment care. In my experience, following these guidelines and troubleshooting steps consistently leads to reliable results and fewer frustrations. With a systematic approach, your soldering iron will stick as intended, and your projects will benefit from strong, lasting connections.