
Testing your car’s alternator is a crucial skill for drivers, hobbyists, and professional technicians alike. The alternator is the heart of your vehicle’s charging system, responsible for keeping the battery charged and powering electrical components while the engine runs. A failing alternator can lead to dim headlights, dead batteries, or even a stalled engine at the worst possible time.
While many drivers rely on warning lights or guesswork, using a multimeter allows you to accurately diagnose alternator issues with confidence.
Whether you’re a complete beginner or an advanced DIYer, understanding how to test an alternator with a multimeter saves you time and money, and can prevent unexpected roadside breakdowns. This comprehensive guide breaks down the process step-by-step, provides essential safety advice, and offers advanced troubleshooting tips.
By the end, you’ll not only know how to check your alternator like a pro, but you’ll also gain valuable insight into maintaining your vehicle’s electrical health for years to come.
Key Takeaways
- Testing an alternator with a multimeter is simple, safe, and effective for diagnosing charging system issues.
- Beginner-friendly steps are provided, with clear instructions and safety reminders for first-time users.
- Advanced users can benefit from in-depth troubleshooting tips and multimeter usage advice.
- Real-world examples and comparison tables help you understand voltage readings and common fault symptoms.
- Regular alternator testing can prevent costly repairs and unexpected breakdowns.
- Always consult a certified technician for complex electrical issues or if you’re unsure about any step.

Credit: www.youtube.com
Understanding The Alternator And Its Role
Before diving into testing procedures, it’s essential to know what the alternator does and why it matters.
What Does An Alternator Do?
The alternator converts mechanical energy from the engine into electrical energy. Its main jobs are to:
- Recharge the vehicle’s battery while driving.
- Supply power to electrical components, such as headlights, radio, and dashboard controls.
- Maintain a steady voltage and current throughout the car’s electrical system.
A healthy alternator ensures your vehicle starts reliably and all systems function as intended.
Common Signs Of Alternator Problems
Recognizing early warnings helps you address issues before they escalate. Typical signs of a failing alternator include:
- Dim or flickering headlights
- Battery warning light on the dashboard
- Dead or weak battery after short drives
- Strange noises (whining or grinding) from the engine bay
- Electrical accessories malfunctioning (e.g., power windows, radio)
If you notice any of these symptoms, it’s time to test your alternator.
The Importance Of Accurate Testing
Guesswork can lead to unnecessary battery replacements or missed alternator failures. Using a multimeter offers precise diagnostic results and helps you pinpoint the real culprit behind electrical issues.
Pro Tip: Always test both the battery and alternator, both are integral to the charging system, and issues can overlap.
Credit: www.youtube.com
Choosing And Setting Up Your Multimeter
The multimeter is your key diagnostic tool. Whether digital or analog, it measures voltage, current, and resistance.
Types Of Multimeters
There are two primary types:
- Digital Multimeter (DMM): Features a digital display, easy to read, and common for most users.
- Analog Multimeter: Uses a needle to indicate readings, less common but still found in some workshops.
For alternator testing, a DMM is recommended for its accuracy and ease of use.
Essential Features For Automotive Use
When selecting a multimeter for vehicle diagnostics, look for:
- DC voltage range up to 20V
- Continuity test function (optional, for advanced checks)
- Auto-ranging capability (helpful for beginners)
- Durability and insulation for automotive environments
How To Prepare Your Multimeter
- Turn off the vehicle before connecting the multimeter.
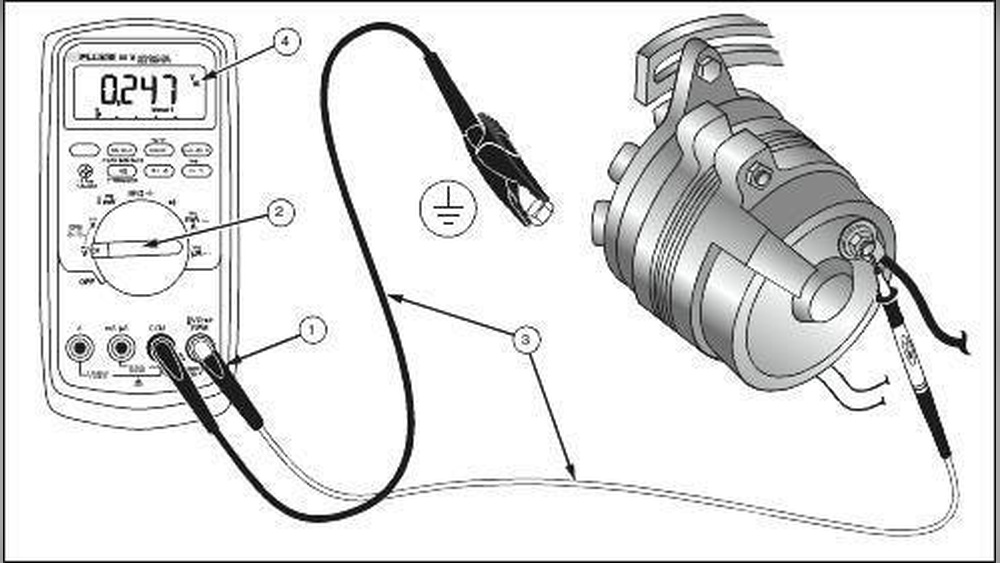
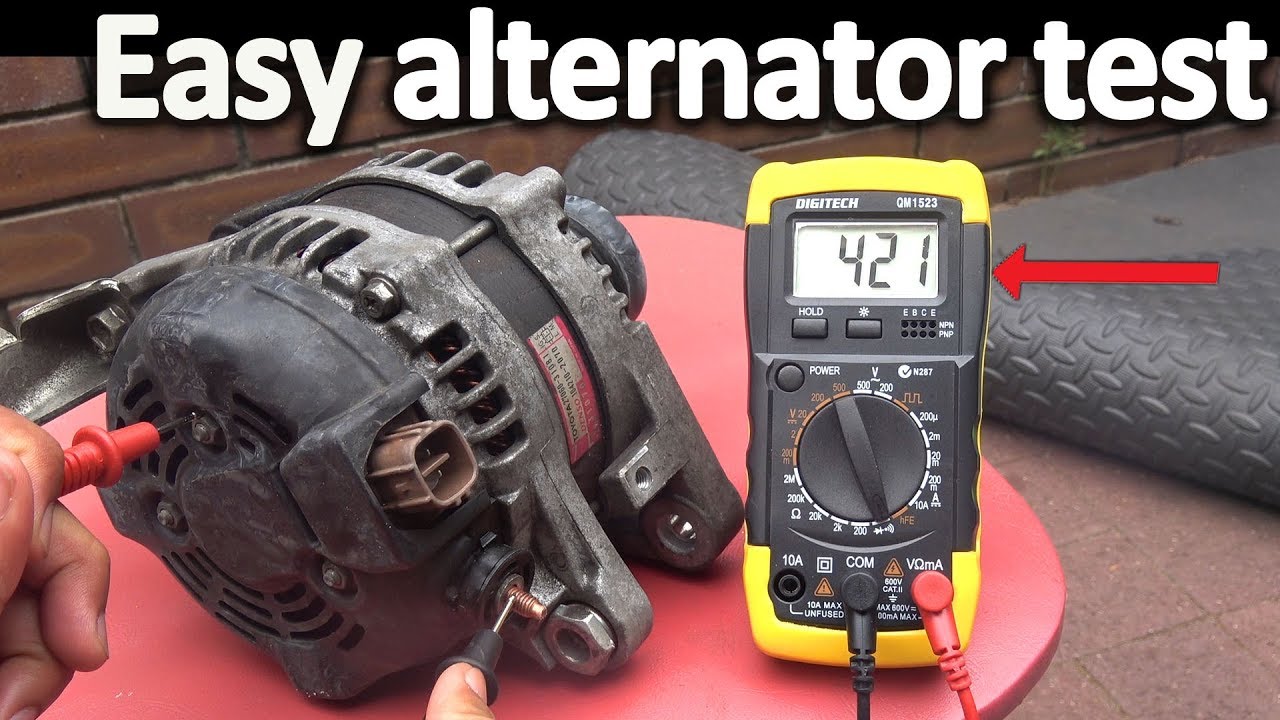
- Set the multimeter to measure DC voltage (V with a solid and dashed line).
- Ensure the leads are in the correct ports: Black in COM, red in VΩmA.
Example: When I tested my own alternator, I used a mid-range DMM set to the 20V DC range, which is more than adequate for standard car batteries.
Step-by-step Guide: Testing An Alternator With A Multimeter
This section provides a comprehensive, beginner-friendly walkthrough, followed by advanced tips for seasoned users.
Step 1: Initial Battery Test (engine Off)
- With the engine off, connect the black lead to the battery’s negative terminal and the red lead to the positive terminal.
- Read the voltage on the display.
| Voltage Reading | Battery Condition |
|---|---|
| 12.6, 12.8 V | Fully Charged |
| 12.4, 12.6 V | Partially Charged |
| Below 12.4 V | Needs Charging/Weak |
If the battery reads below 12. 4V, charge it before proceeding. An undercharged battery can skew alternator test results.
Step 2: Alternator Output Test (engine Running)
- Start the vehicle. Let it idle with all accessories off.
- Keep the multimeter leads connected as before.
- Observe the voltage:
| Voltage Reading | Alternator Status |
|---|---|
| 13.8, 14.8 V | Normal Output |
| 12.8, 13.7 V | Low Output |
| Above 14.8 V | Overcharging |
| Below 12.8 V | Alternator Not Charging |
A healthy alternator typically produces 13.8 to 14.8 volts at idle. Anything outside this range indicates a potential issue.
Step 3: Load Test (accessories On)
- Turn on high-draw accessories: Headlights, rear defroster, air conditioning.
- Check the voltage again.
- The voltage should remain above 13.5V. A significant drop (below 13V) means the alternator may not be supplying enough power.
Step 4: Rev Test
- Slightly increase engine RPM to around 2,000.
- Observe if the voltage rises slightly (up to 14.8V) and remains steady.
- Large fluctuations or a drop in voltage can indicate a failing voltage regulator or alternator.
Step 5: Advanced Checks (for Experienced Users)
Checking Alternator Ripple
- Set the multimeter to AC voltage.
- Connect leads as before, with the engine running.
- Read the AC voltage; ideally, it should be below 0.5V.
- Higher readings suggest a failed diode inside the alternator.
Continuity And Resistance Tests
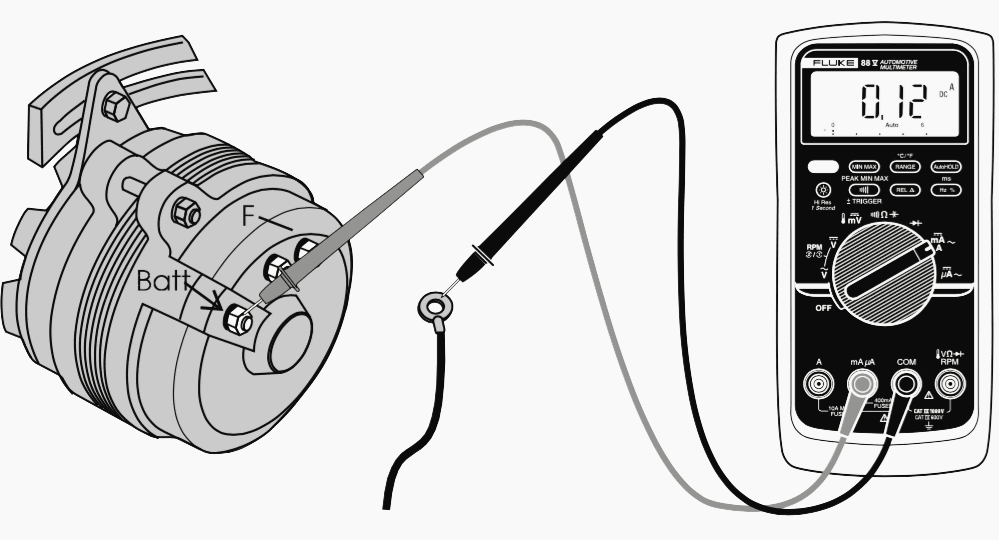
- With the vehicle off, disconnect the battery.
- Measure resistance across the alternator’s main output terminal and ground; it should be close to zero.
Pro Tip: Always refer to your vehicle’s service manual for specific test points and acceptable resistance values.
Credit: electrical-engineering-portal.com
Real-world Examples And Case Studies
Example 1: The Mysterious Battery Drain
A driver noticed their car battery died overnight despite a recent replacement. Testing the alternator revealed only 12.5V output with the engine running. After replacing the alternator, the charging voltage returned to 14.2V and the battery drain issue resolved.
Example 2: Flickering Headlights At Night
A vehicle experienced flickering headlights and dashboard lights. Multimeter testing showed voltage fluctuating between 13.0V and 14.5V at idle. Diagnosis confirmed a failing voltage regulator within the alternator, which was replaced to fix the problem.
Example 3: Overcharging And Boiling Battery
An advanced user noticed a strong sulfur smell (boiling battery) and measured 15.5V at idle. This overcharging was traced to a failed voltage regulator. Replacing the alternator prevented further battery damage.
Advanced Troubleshooting And Diagnostic Strategies
For users looking to go beyond basic testing, these advanced strategies help identify less obvious alternator faults.
Diagnosing Intermittent Charging Problems
Intermittent issues can be challenging. If the alternator passes tests but symptoms persist:
- Wiggle the wiring harness and connectors with the engine running to check for loose or corroded connections.
- Monitor voltage while tapping the alternator gently; erratic readings can indicate internal faults.
Using Oscilloscope For Ripple Analysis
Professional technicians may use an oscilloscope to examine alternator waveform quality. Irregular or excessive AC ripple indicates bad diodes or windings.
Comparing Alternator Output By Vehicle Type
Different vehicles have varying requirements. For example, modern cars with advanced electronics may require higher output at idle. Always compare your readings with manufacturer specifications.
| Vehicle Type | Normal Output Range (V) | Notes |
|---|---|---|
| Compact Car | 13.8, 14.5 | Standard Accessories |
| Luxury Sedan | 14.0, 14.8 | High Electrical Load |
| Hybrid/Electric | N/A | Uses High-Voltage System |
Inspecting Ground Connections
A poor ground can mimic alternator failure. Inspect and clean all battery and chassis grounds, using your multimeter’s continuity function.
When To Seek Professional Help
If you find persistent charging issues, burnt wiring, or have doubts about your results, consult a certified technician. Modern vehicles often integrate alternator control with the engine computer, requiring specialized diagnostic tools.
For further reading on alternator principles, see Wikipedia: Alternator (Automotive).
Safety Precautions And Best Practices
Working around car batteries and electrical systems requires attention and care.
Key Safety Tips
- Always wear eye protection when testing under the hood.
- Avoid touching battery terminals with bare hands or metal tools.
- Never short the battery or alternator terminals together.
- Do not disconnect the battery while the engine is running; this can damage sensitive electronics.
Protecting Your Multimeter
- Ensure your multimeter is rated for automotive voltage.
- Use proper lead placement and settings to avoid blowing the internal fuse.
Battery Handling
- Handle batteries with care; leaking acid can cause burns.
- If the battery shows signs of swelling or leaking, replace it before testing.
Pro Tip: Always keep a fire extinguisher nearby when working on automotive electrical systems.
Common Mistakes To Avoid
Even experienced users can make errors during alternator testing.
Using The Wrong Multimeter Setting
Setting the multimeter to AC instead of DC voltage (or vice versa) can lead to incorrect readings or damage.
Ignoring Battery State
Testing with a deeply discharged or faulty battery can yield misleading results. Ensure the battery is fully charged before alternator diagnostics.
Overlooking Corroded Connections
A poor connection can mimic alternator failure. Clean all terminals and connectors for reliable readings.
Skipping The Load Test
Testing without electrical accessories does not reveal how the alternator performs under real-world conditions. Always perform the load test.
Neglecting Manufacturer Specifications
Alternator output varies by vehicle. Always refer to the service manual or manufacturer guidelines for correct voltage ranges.
When And How Often To Test Your Alternator
Regular alternator checks are a key part of preventive vehicle maintenance.
Recommended Testing Intervals
- Every 6-12 months during routine maintenance.
- Before long road trips.
- After replacing the battery.
- If you notice symptoms like dim lights, slow starts, or battery warning lights.
Signs That Demand Immediate Testing
- Unexplained battery drain.
- Electrical component failures.
- Unusual noises from the alternator or belt area.
Professional Vs. Diy Testing
While multimeter testing covers most scenarios, periodic professional inspections can catch subtle issues, especially with complex or luxury vehicles.
For additional diagnostic strategies, consult your vehicle’s service manual or trusted resources like AutoZone’s How to Test an Alternator.
Frequently Asked Questions
How Do I Know If My Alternator Or Battery Is The Problem?
If your vehicle struggles to start or the battery dies quickly, test both components. Measure battery voltage with the engine off, then check alternator output with the engine running. If the battery reads above 12. 6V but drops under load, it may be failing.
If the alternator output is below 13. 8V with a good battery, the alternator is likely at fault. A load tester can further isolate the issue.
Can I Test An Alternator Without Removing It From The Vehicle?
Yes, most alternator tests are performed with the alternator installed. Using a multimeter, you can check voltage at the battery terminals as described in this guide. Only complex internal repairs or bench testing require alternator removal.
Is It Safe To Drive With A Bad Alternator?
Driving with a failing alternator is risky. You may experience sudden power loss, battery failure, or get stranded. If your vehicle shows signs of charging problems, limit driving and seek repairs as soon as possible to avoid further damage.
What Causes Alternators To Fail?
Common causes include worn brushes, failed diodes, overheating, and exposure to oil or coolant leaks. Overloading the electrical system or a loose drive belt can also contribute. Regular inspection and maintenance help prevent premature failure.
Can I Use A Cheap Multimeter For Alternator Testing?
Basic multimeters under $20 can measure alternator voltage accurately. However, they may lack advanced features like auto-ranging or AC ripple measurement. For more precise diagnostics, consider investing in a mid-range or automotive-specific multimeter, especially if you plan to perform frequent tests.
Testing your alternator with a multimeter is an essential skill that empowers both beginners and seasoned automotive enthusiasts. With the right tools, clear safety practices, and a methodical approach, you can confidently diagnose charging system issues and keep your vehicle reliable.
Regular testing not only prevents breakdowns but also extends the life of your battery and electrical components. If you encounter results you’re unsure about, don’t hesitate to consult a professional technician to ensure your car remains in peak condition.