
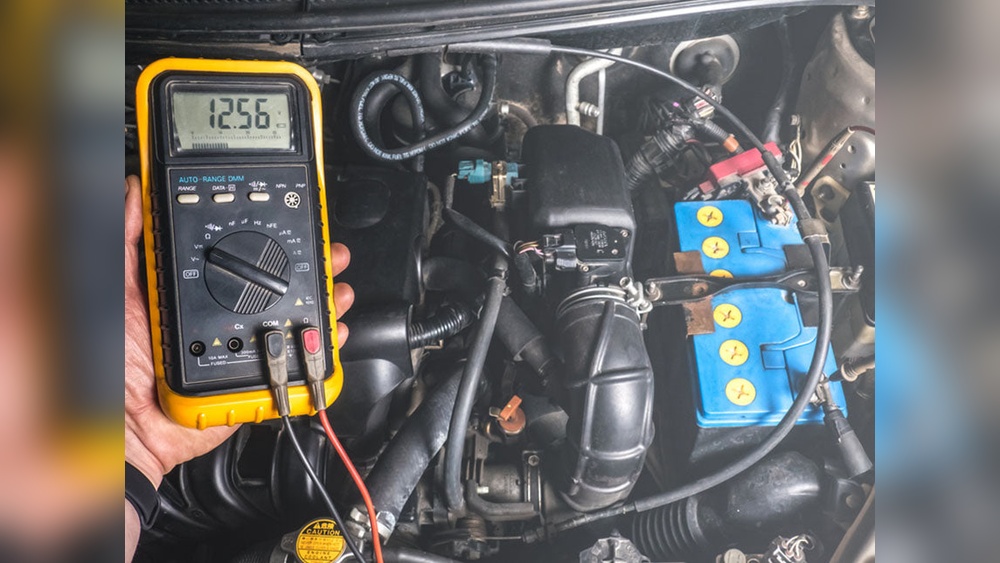
Checking voltage on your car may seem like a task reserved for mechanics, but with a multimeter and the right guidance, anyone can do it safely and accurately. Whether you’re a weekend DIYer, a car enthusiast, or just want to avoid a trip to the garage, learning to use a multimeter is a practical and empowering skill. From diagnosing a dead battery to troubleshooting electrical issues, voltage checks are fundamental to vehicle maintenance and repair.
This article serves as a comprehensive, beginner-friendly yet advanced guide to using a multimeter on a car. You’ll gain clear, step-by-step instructions and professional insights, ensuring both safety and precision. Real-world examples, comparison tables, and expert tips are woven throughout, making this resource valuable for both novices and seasoned tinkerers.
By the end, you’ll feel confident in tackling voltage tests like a pro, and understanding what the results truly mean.
Key Takeaways
- A multimeter is essential for diagnosing car electrical issues, from batteries to alternators.
- Understanding voltage readings helps prevent unexpected breakdowns and costly repairs.
- Proper safety precautions and tool handling are critical to avoid injury or damage.
- This guide offers both beginner steps and advanced troubleshooting methods.
- Real-world examples and tables help you interpret results accurately.
- FAQs provide additional insight beyond the main guide.
Credit: www.supercheapauto.com.au
Understanding Multimeters: Types And Functions
A solid grasp of what a multimeter is, and what it can do, is foundational before applying it to your car. Modern multimeters are versatile diagnostic tools that measure voltage, current, and resistance.
Types Of Multimeters
There are two main kinds of multimeters you’ll encounter:
- Analog Multimeter: Features a needle pointer and scale. Good for observing slow voltage changes, but less precise.
- Digital Multimeter (DMM): Displays readings on a digital screen, favored for accuracy and ease of use.
Here’s a quick comparison:
| Feature | Analog Multimeter | Digital Multimeter (DMM) |
|---|---|---|
| Display | Needle & Scale | Digital LCD |
| Accuracy | Lower (can parallax error) | High (precise reading) |
| Durability | More robust for certain shocks | Can be sensitive to drops |
| Cost | Usually cheaper | Varies (basic to advanced models) |
| Features | Basic | Advanced (auto-ranging, data hold, etc.) |
Key Functions Of A Multimeter
- DC Voltage (V, ): For measuring car batteries and most automotive circuits.
- AC Voltage (V~): Used for household circuits (rarely needed in cars).
- Current (A): Measures flow of electricity; advanced but sometimes essential.
- Resistance (Ω): Diagnoses issues like bad ground or faulty wires.
Choosing The Right Multimeter
For automotive work, a basic digital multimeter with DC voltage, continuity, and resistance functions is sufficient. If you plan advanced diagnostics, features like auto-ranging and a high input impedance are helpful.
Pro Tip: Always check the user manual for your multimeter to understand its limits, especially the maximum voltage and current ratings.
Credit: www.hagerty.com
Safety First: Preparing To Test Voltage On Your Car
Before you approach your vehicle with a multimeter, it’s crucial to set up for safety and accuracy. Car electrical systems can pose risks if handled carelessly.
Essential Safety Precautions
- Turn off the engine unless the test requires it to be running (e.g., alternator checks).
- Remove metal jewelry to prevent accidental shorts.
- Work in a dry environment to avoid electrical hazards.
- Keep the multimeter in good condition, with undamaged probes and leads.
Tools And Equipment Needed
- Digital multimeter
- Insulated test leads
- Protective gloves (optional but recommended)
- Vehicle owner’s manual
Locating Test Points
Common test points for voltage in cars include:
- Battery terminals
- Fuse boxes
- Alternator output
- Various sensors and connectors
Warning: Never attempt to measure voltage on high-voltage hybrid or electric vehicle systems unless specially trained and equipped.
Understanding Automotive Voltage Ranges
Most cars use a 12-volt electrical system. However, the actual voltage can range:
- Fully charged battery: 12.6, 12.8V
- Engine running (alternator charging): 13.7, 14.7V
- Low battery: Below 12.4V
Knowing these numbers helps you interpret your readings accurately.
Step-by-step Guide: Using A Multimeter To Check Car Voltage
Now, let’s walk through the actual process. This section provides a beginner-friendly tutorial, with extra detail for advanced users.
Setting Up The Multimeter
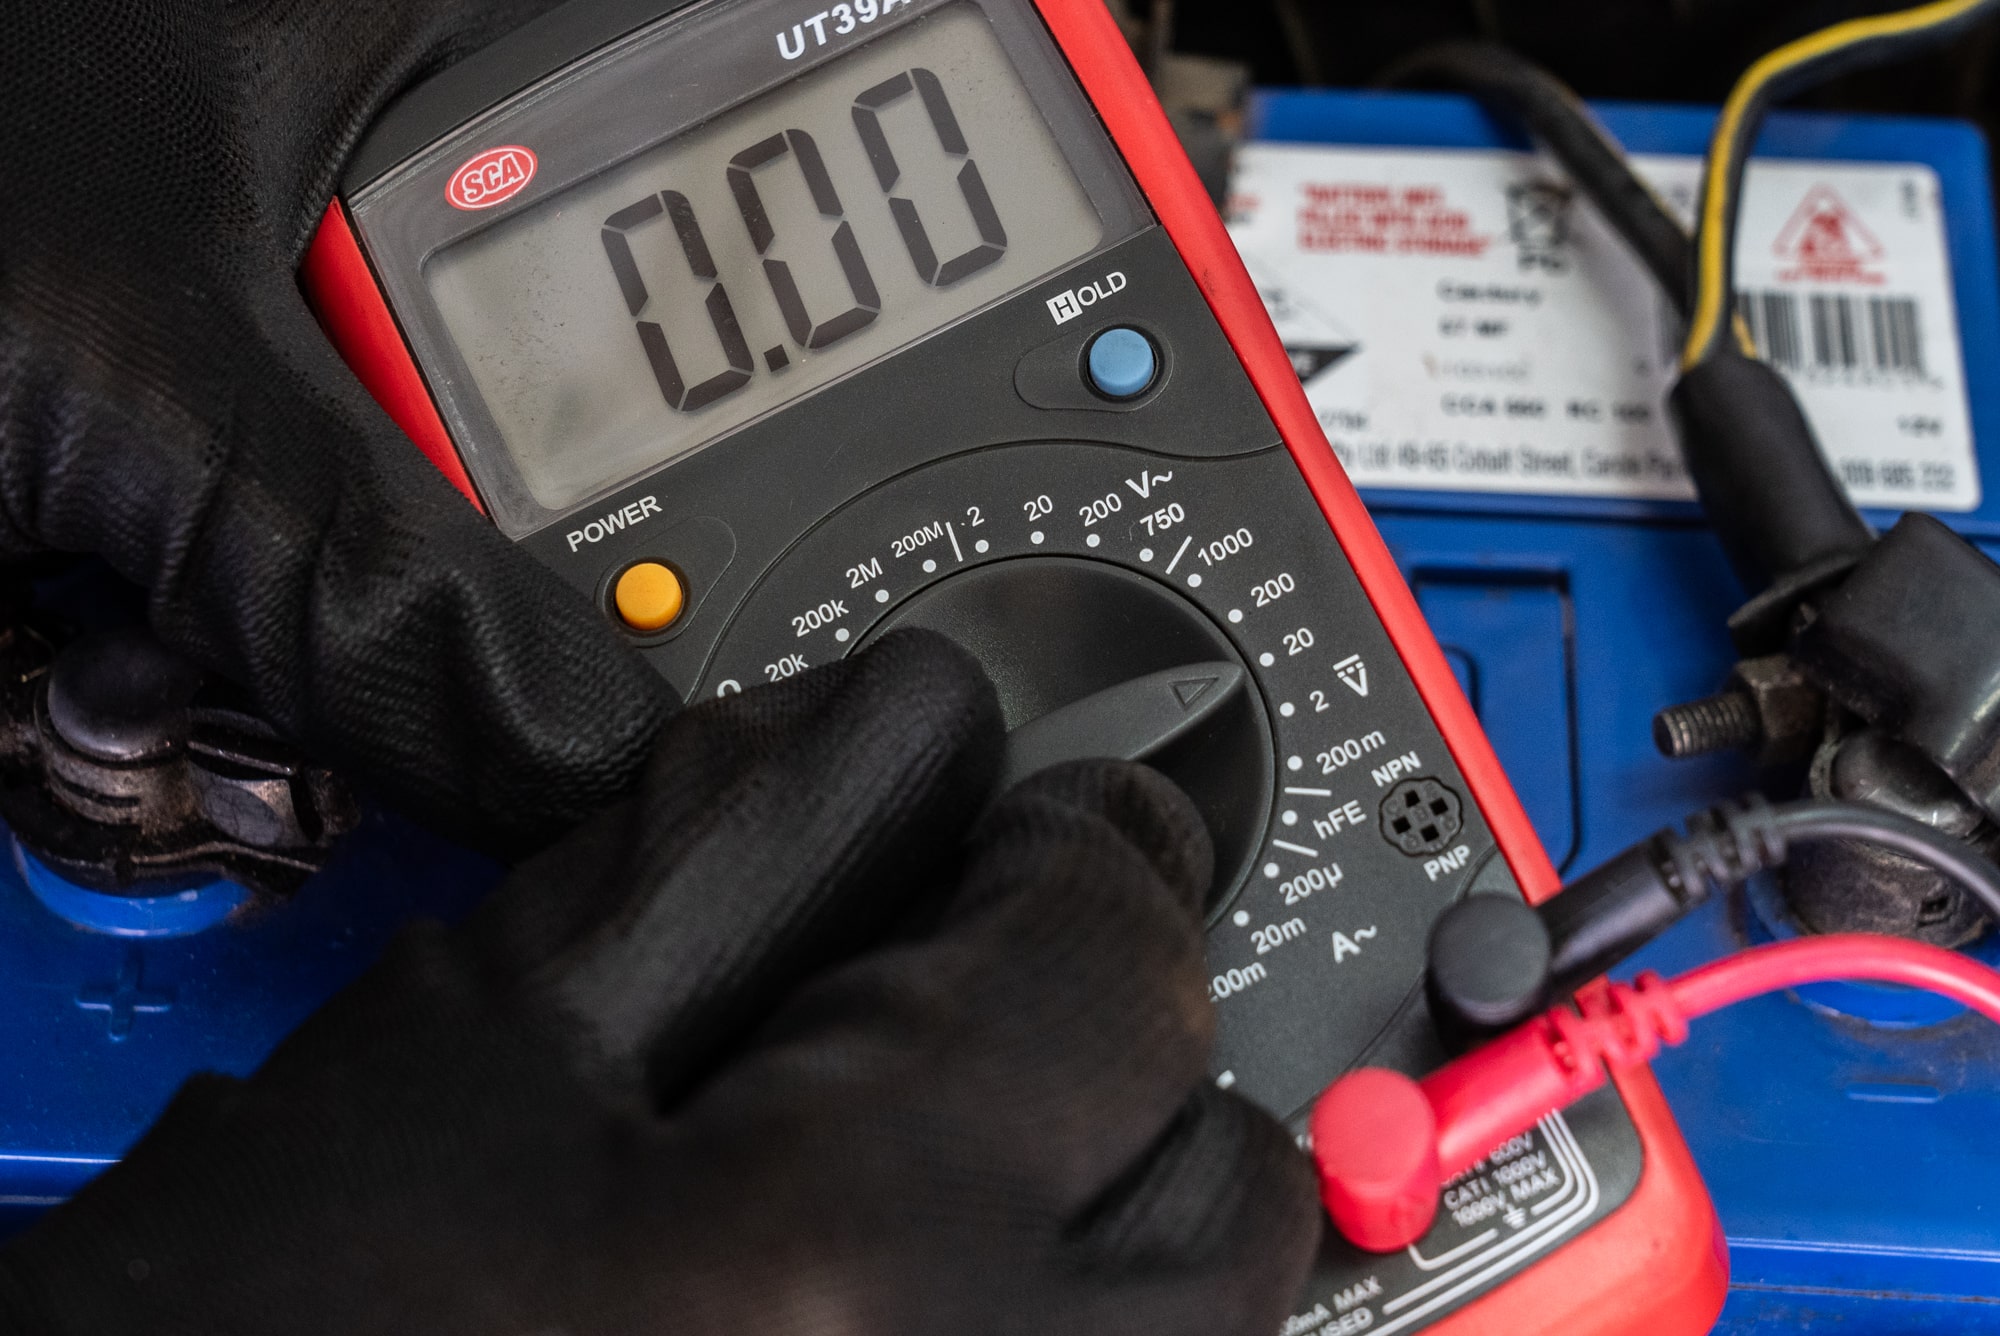
- Turn the multimeter on and set the dial to DC voltage (V, or a straight line above the V).
- Select a range higher than 12V (e.g., 20V DC) if the meter is not auto-ranging.
- Plug the black lead into the COM (common/ground) port.
- Plug the red lead into the VΩmA or V port.
Testing The Car Battery Voltage
This is the most common and essential voltage check.
- Turn off the car and all accessories.
- Open the hood and locate the battery.
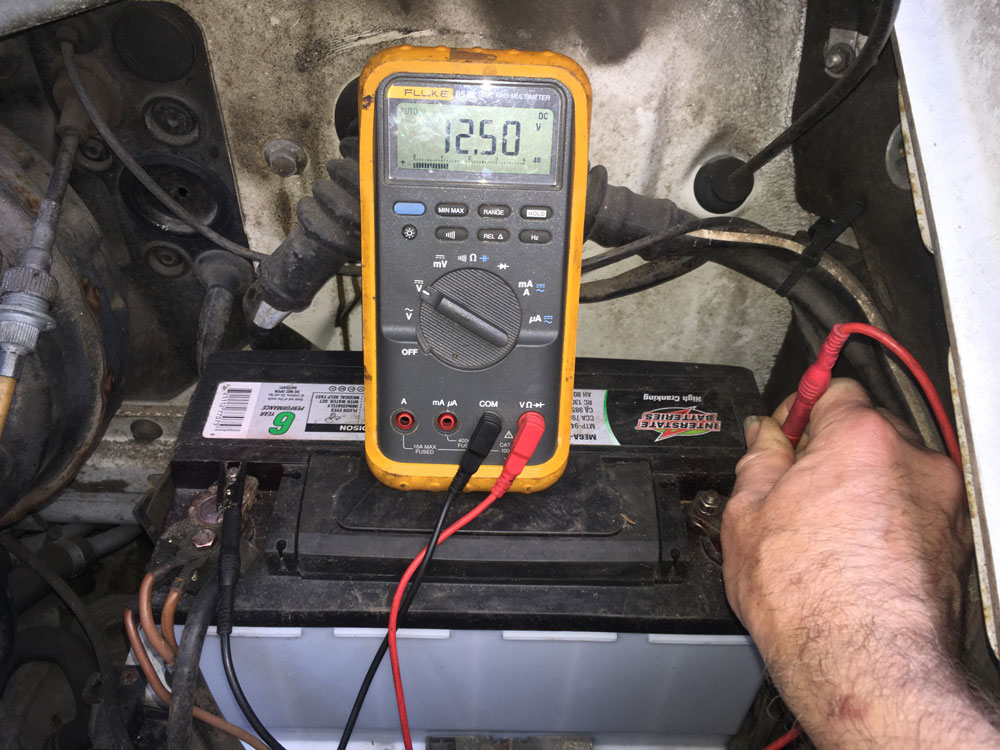
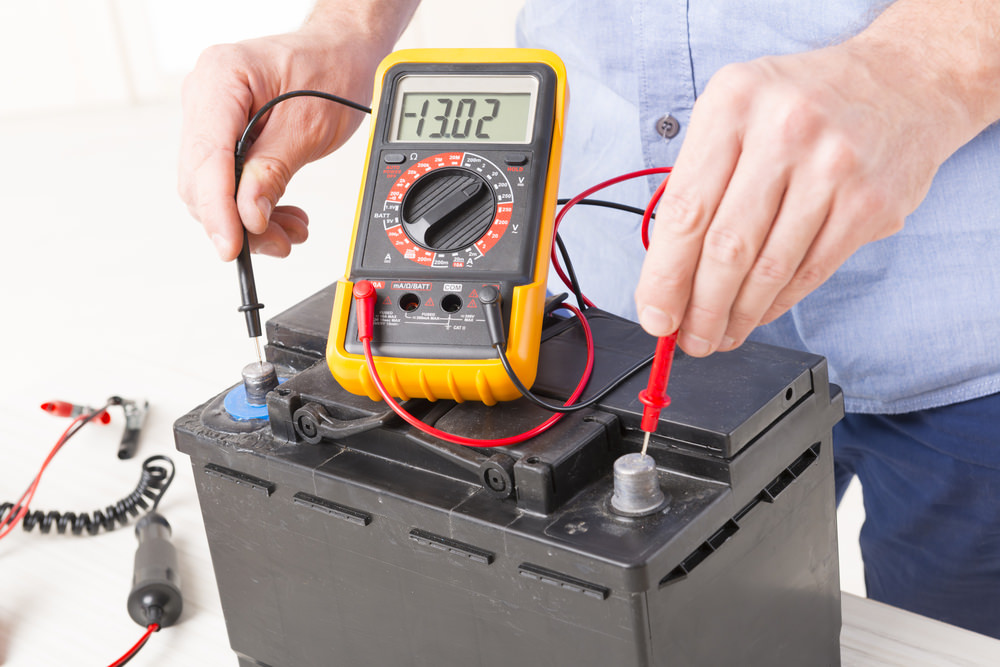
- Touch the black probe to the battery’s negative (, ) terminal.
- Touch the red probe to the positive (+) terminal.
- Read the value on the multimeter’s display.
Typical results:
- 12.6, 12.8V: Battery fully charged
- 12.4, 12.6V: Battery ~75% charged
- 12.2, 12.4V: Battery ~50% charged
- Below 12.2V: Battery discharged
Example: If your reading is 12.1V, your battery is below 50% and may struggle to start in cold weather.
Testing Voltage At The Fuse Box
Troubleshooting a non-working component? Check for voltage at the fuse.
- Identify the fuse for the component (refer to the owner’s manual).
- Remove the fuse or access its terminals.
- Connect the black probe to a known ground.
- Touch the red probe to each side of the fuse socket.
A reading similar to battery voltage means power is reaching the fuse.
Checking Alternator Output Voltage
To test if your alternator is charging:
- Start the car.
- With the engine idling, repeat the battery test above.
- The voltage should now read 13.7, 14.7V.
If it’s lower, the alternator may not be charging the battery properly.
Advanced: Testing Voltage Drop Across Circuits
Voltage drop testing identifies excessive resistance in wires or connections.
- With the circuit active, touch probes across the component or wire section.
- A reading over 0.2V (for most circuits) may indicate a bad connection.
Pro Tip: In my experience, voltage drop tests quickly isolate wiring problems that visual inspections miss.
Credit: executivetowingservices.com.au
Interpreting Results: What Your Readings Mean
Numbers alone aren’t helpful unless you know how to interpret them. This section helps you translate voltage readings into actionable insights.
Battery Voltage Interpretation Table
Below is a handy reference for typical battery voltage readings and what they mean:
| Voltage (V) | Battery Condition | Recommended Action |
|---|---|---|
| 12.6, 12.8 | Fully charged | No action needed |
| 12.4, 12.6 | 75% charged | Monitor; charge if necessary |
| 12.2, 12.4 | 50% charged | Recharge battery |
| Below 12.2 | Discharged | Charge or replace battery |
| 13.7, 14.7 (engine running) | Alternator charging properly | No action needed |
| Below 13.7 (engine running) | Poor alternator output | Inspect alternator/system |
Diagnosing Common Issues
- Consistently low battery voltage: Battery aging or parasitic drain.
- High voltage with engine running: Faulty voltage regulator.
- No voltage at a fuse: Broken wire, bad relay, or switch.
Case Study: Parasitic Battery Drain
A car owner notices their battery keeps dying overnight. They measure 12. 6V after charging, but the next morning, it’s 12. 1V. Using the multimeter’s current setting (advanced), they find a 0. 3A draw with everything off, much higher than the typical 0.
05A. By pulling fuses and watching the drop, they identify a faulty glovebox light staying on.
Advanced Tip: Fluctuating Voltage Readings
If your voltage readings jump around, check for:
- Loose connections
- Dirty battery terminals
- A failing multimeter battery
Stabilize connections and retest for accurate results.
Advanced Techniques And Troubleshooting Tips
For those who want to go beyond basic voltage checks, this section introduces advanced methods and expert insights.
Using A Multimeter For Live Circuit Testing
- Backprobe connectors: Insert the probe at the back of a connected plug to test voltage without disconnecting.
- Pierce wires (with caution): Special piercing probes allow testing inside insulation, but reseal the spot to prevent corrosion.
Measuring Voltage Under Load
Testing voltage while the circuit is under real load gives more accurate diagnostic data.
- Turn on the component (e.g., headlights).
- Measure voltage at the component.
- Compare to battery voltage, should be within 0.2V.
Example: Headlights dim and you measure only 11.8V at the bulb socket while the battery is 12.6V. This suggests wiring or switch resistance.
Diagnosing Alternator Ripple
Some digital multimeters have a MIN/MAX or frequency mode. You can spot alternator diode issues by observing AC voltage (should be under 0.3V AC at the battery with the engine running).
Case Study: Starter Circuit Voltage Drop
A car cranks slowly. Testing battery voltage during cranking reveals a drop to 9. 5V. Voltage drop testing across battery cables finds a 1. 5V drop, far above the recommended 0. 2V, indicating corroded cables.
Common Multimeter Mistakes (and How To Avoid Them)
- Measuring current with leads in voltage ports, can blow a fuse in your meter.
- Probing the wrong terminals, always double-check before connecting.
- Not zeroing the meter, for analog, ensure needle is at zero before testing.
Pro Tip: Take photos of your setup during complex tests. This makes it easier to retrace steps and spot errors.
Real-world Examples: Multimeter Use Cases In Automotive Diagnostics
Learning from actual scenarios brings clarity to technical instructions. Here are a few situations where a multimeter makes the difference.
Example 1: Diagnosing A No-start Situation
A car won’t start; dashboard lights are dim. Battery measures 11. 8V, below cranking threshold. After a jump-start and alternator test (shows 14. 2V running), it’s clear the battery is the issue, not the charging system.
Example 2: Troubleshooting Power Windows
The driver’s side window isn’t working. Measuring voltage at the window motor connector with the switch pressed shows zero volts. Checking the fuse box reveals no voltage at the fuse, traced back to a faulty relay.
Example 3: Finding A Faulty Ground
Tail lights are dim. Voltage at the light socket is 12.6V, but measuring between the socket ground and battery negative reveals a 1.5V drop. The cause: corroded ground wire at the chassis.
Example 4: Monitoring Charging System Health
During a road trip, the battery warning light flickers. Checking voltage at the battery with the engine running shows 13. 4V, slightly below normal. A further test of alternator output at higher RPMs confirms a failing alternator.
Example 5: Diy Car Audio Installation Check
After installing a new stereo, the unit won’t power on. Voltage check at the head unit connector shows only 4.2V. The cause: a loose fuse terminal in the fuse box.
Comparison: Popular Automotive Multimeters
Choosing the right multimeter for your needs can be daunting. Here’s a comparison of three popular models, suitable for automotive use:
| Model | Price Range | Auto-Ranging | Max Voltage | Extra Features | User Level |
|---|---|---|---|---|---|
| AstroAI Digital Multimeter | $15, $25 | No | 600V | Basic functions | Beginner |
| Fluke 117 | $150, $200 | Yes | 600V | True RMS, backlight | Advanced |
| Klein Tools MM400 | $35, $60 | Yes | 600V | Auto-ranging, data hold | Intermediate |
Pro Tip: For most car owners, a reliable $20, $40 digital multimeter covers all standard voltage checks.
Best Practices For Accurate And Reliable Voltage Testing
Adopting the right habits ensures safety and accuracy every time you use a multimeter on your car.
Calibrating And Maintaining Your Multimeter
- Replace batteries regularly to avoid erratic readings.
- Check calibration annually or after any physical shock.
- Inspect leads for cracks or breaks before every use.
Ensuring Good Contact
- Clean battery terminals and probe tips for solid connections.
- Use alligator clips for long tests to keep hands free and reduce noise.
Documenting Test Results
- Record voltage readings, test points, and conditions (engine on/off, accessories on).
- Save photos of probe placement for future reference.
When To Seek Professional Help
- If you see unusual voltage patterns you can’t explain.
- For hybrid/electric vehicles, due to high-voltage risks.
- When dealing with airbag or other safety system wiring.
Pro Tip: Even experienced technicians consult wiring diagrams and reference materials, don’t hesitate to research or ask for help.
Frequently Asked Questions
What’s The Difference Between Dc And Ac Voltage On A Multimeter, And Which One Do I Use For My Car?
Automotive electrical systems use DC voltage (direct current), which is indicated by a straight line on the multimeter. AC voltage (alternating current, wavy line symbol) is for household outlets and not used in vehicles. Always select DC voltage when testing car batteries, alternators, or any in-car electronics.
Can A Multimeter Damage My Car’s Electronics?
When used properly, a multimeter is safe for automotive electronics. Always start with the correct function (DC voltage), appropriate range, and connect the probes to the right terminals. Avoid measuring current unless you understand the circuit and the meter’s limits.
Never use the ohms (resistance) setting on a live circuit, as this can damage both the meter and the car’s electronics.
What Should I Do If I Get A Zero Or “ol” Reading On My Multimeter When Testing Voltage?
A zero reading means no voltage is present; possible causes include a blown fuse, broken wire, or poor ground connection. “OL” (overload) typically appears if the voltage exceeds the selected range or if the meter is on the wrong setting.
Double-check your connections, meter settings, and try testing on a known good source to verify the multimeter is functioning.
How Often Should I Check My Car Battery’s Voltage?
For optimal maintenance, check your car battery voltage every three months, before long trips, or if you notice slow cranking or dim lights. Regular checks can catch weak batteries early and prevent unexpected breakdowns. If your vehicle sits unused for extended periods, monthly checks are recommended.
Is It Safe To Use A Multimeter On Hybrid Or Electric Vehicles?
Hybrid and electric vehicle systems often operate at voltages over 100V, posing serious shock risks. Only trained professionals with specialized equipment should test high-voltage components in these vehicles. For basic 12V accessory circuits (e. g. , lighting, infotainment), standard multimeter procedures apply, but always consult the manufacturer’s safety guidelines first.
Additional Resources
- For more in-depth tutorials on multimeter use, see the Wikipedia page on multimeters.
- For step-by-step automotive wiring diagrams and repair tips, visit Haynes Tutorials.
Mastering voltage checks with a multimeter opens the door to smarter, more self-reliant car care. Whether you’re a beginner or advancing your skills, the techniques and tips in this guide will help you troubleshoot, maintain, and optimize your vehicle’s electrical system with confidence.
With practice, you’ll spot issues before they become serious problems, saving money, time, and stress on the road.