
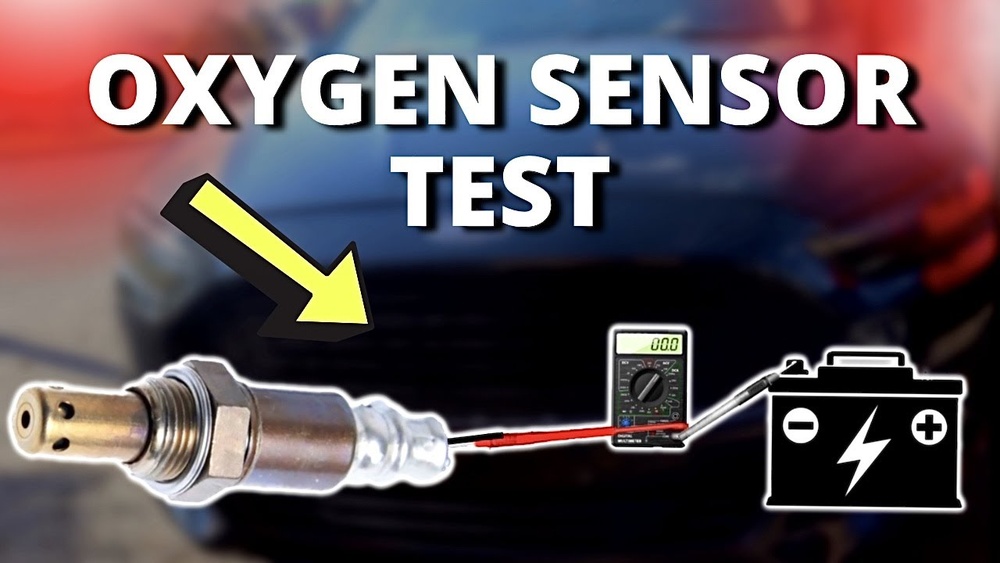
Testing an oxygen sensor with a multimeter is an essential skill for both automotive beginners and seasoned mechanics. Accurate diagnostics can save hundreds of dollars in unnecessary repairs and help maintain optimal vehicle performance. Whether your car’s check engine light just flickered on or you want to ensure your emissions system is functioning correctly, knowing how to test an oxygen sensor empowers you to make informed decisions and avoid costly mistakes.
Oxygen sensors, also known as O2 sensors, are crucial for measuring the air-fuel mixture in your engine, helping to optimize fuel efficiency and reduce emissions. Faulty sensors can lead to increased fuel consumption, engine misfires, or even failed emissions tests.
By combining beginner-friendly instructions with advanced troubleshooting tips, this guide ensures that anyone can confidently diagnose and interpret O2 sensor health with a multimeter, no matter their experience level.
Key Takeaways
- Oxygen sensors monitor your vehicle’s air-fuel ratio for optimal engine performance and emissions.
- Using a multimeter is the most accessible method for testing O2 sensor functionality.
- Step-by-step instructions help beginners avoid common mistakes and misreadings.
- Advanced diagnostic tips and case studies illustrate real-world troubleshooting.
- Understanding sensor readings prevents unnecessary part replacements and repair costs.
- Regular sensor checks support fuel economy and environmental compliance.
Understanding Oxygen Sensors: Purpose And Types
Oxygen sensors are small but vital components in modern vehicles, installed in the exhaust system to monitor the concentration of oxygen in exhaust gases. Their readings help the Engine Control Unit (ECU) adjust the air-fuel mixture for efficient combustion.
What Does An Oxygen Sensor Do?
The primary function of an O2 sensor is to provide real-time data on the air-fuel mixture leaving the engine. This feedback allows the ECU to maintain the stoichiometric ratio, typically 14.7 parts air to 1 part fuel, ensuring the engine runs efficiently, with minimal emissions.
Types Of Oxygen Sensors
There are several types of oxygen sensors, each with unique characteristics:
- Zirconia sensors: Most common, typically found in older and newer vehicles alike. They generate a voltage based on oxygen concentration.
- Titania sensors: Use resistance changes instead of voltage; less common.
- Wideband sensors: Provide more precise readings, often used in newer vehicles for tighter emission control.
| Sensor Type | Signal Output | Typical Application | Testing Method |
|---|---|---|---|
| Zirconia | Voltage (0.1, 0.9V) | Most cars (pre/post-cat) | Multimeter (DC voltage) |
| Titania | Resistance | Some older models | Multimeter (Ohms) |
| Wideband | Voltage/Current | Modern cars | Advanced multimeter or scan tool |
Sensor Location And Impact
O2 sensors are typically positioned:
- Upstream (pre-cat): Before the catalytic converter, monitoring mixture directly from the engine.
- Downstream (post-cat): After the catalytic converter, checking converter efficiency.
A faulty upstream sensor affects engine performance, while a downstream failure mainly impacts emissions.

Credit: www.fluke.com
Preparing To Test: Tools, Safety, And Pre-checks
Before diving into testing, proper preparation ensures accuracy and safety. Both beginners and advanced users benefit from thorough pre-checks.
Essential Tools
To test an oxygen sensor, you’ll need:
- Digital multimeter (preferably with high input impedance)
- Vehicle service manual for wiring diagrams
- Basic hand tools (screwdrivers, pliers)
- Protective gloves and safety glasses
Pro Tip: Use a multimeter with a min/max recording feature for advanced diagnostics, as O2 sensor signals can fluctuate rapidly.
Safety Precautions
Testing O2 sensors involves working around hot engine parts and electrical connections. Always:
- Allow the engine to cool before starting.
- Disconnect the battery when removing sensors.
- Wear safety gear to prevent burns and shocks.
- Work in a well-ventilated area to avoid exhaust exposure.
Pre-test Checks
Before testing, perform these steps:
- Visual Inspection: Look for damaged wires, connectors, or corrosion.
- Check Engine Light: Note any diagnostic codes (e.g., P0130 for O2 sensor circuit malfunction).
- Review Service Manual: Identify the sensor wiring and expected readings.
Example: In my experience, a simple visual check revealed a frayed wire causing erratic sensor readings, saving hours of troubleshooting.
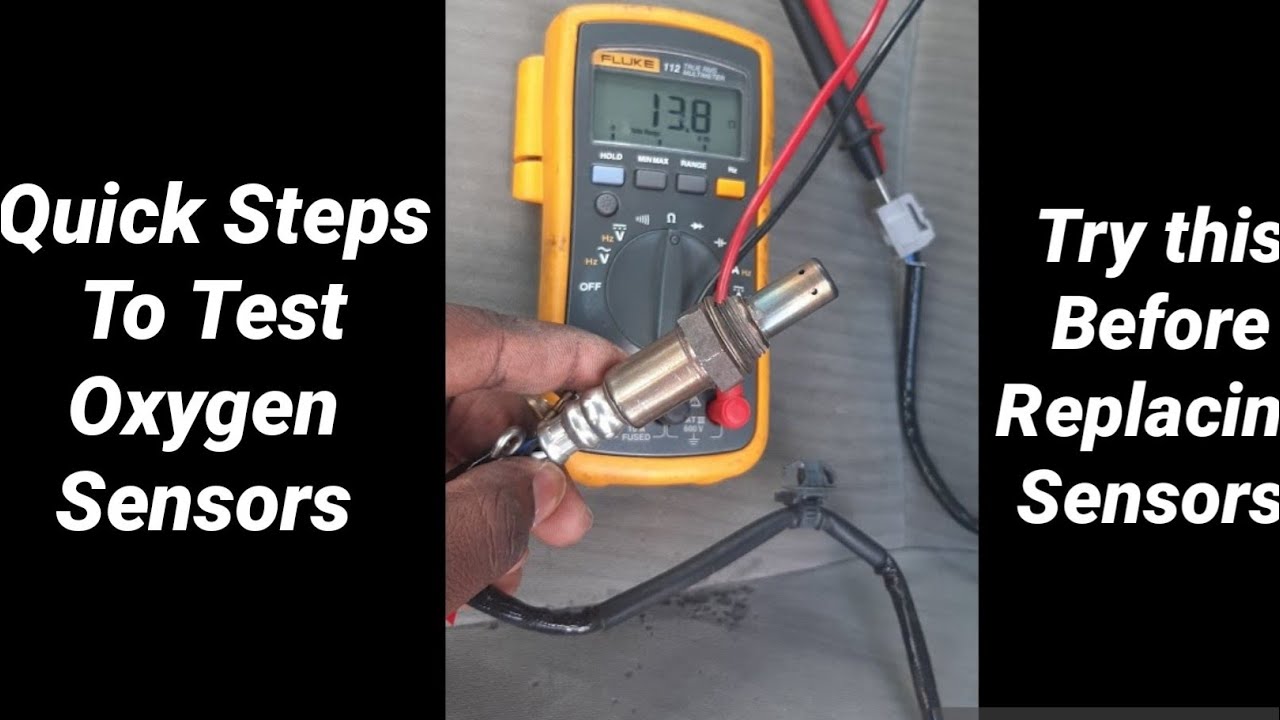
Credit: www.youtube.com
Step-by-step Guide: Testing Oxygen Sensors With A Multimeter
Testing an oxygen sensor varies slightly depending on the sensor type and vehicle model. This section guides you through beginner and advanced procedures.
Testing Zirconia Oxygen Sensors (most Common)
- Locate the Sensor: Find the O2 sensor using your vehicle manual. Most are accessible from underneath the car or near the exhaust manifold.
- Warm Up the Engine: Start the vehicle and let it idle for 10, 15 minutes. O2 sensors require heat to operate correctly.
- Access the Signal Wire: Identify the signal wire (often black or blue). Refer to the wiring diagram for confirmation.
- Set Multimeter to DC Voltage: Adjust the multimeter to the 1V or 2V DC range.
- Probe the Signal Wire: Connect the positive lead to the signal wire and the negative to ground (engine block or chassis).
- Monitor Voltage Fluctuations: The voltage should oscillate between 0.1V (lean) and 0.9V (rich) at idle.
| Condition | Expected Reading | Action |
|---|---|---|
| Normal | 0.1, 0.9V fluctuating | Sensor OK |
| Constant Low Voltage | ~0.1V | Sensor or circuit fault |
| Constant High Voltage | ~0.9V | Sensor or circuit fault |
| No Voltage | 0V | Sensor dead or wiring issue |
Testing Titania Oxygen Sensors
Titania sensors require resistance checks:
- Disconnect Sensor: Remove the sensor from its connector.
- Set Multimeter to Ohms: Select resistance mode.
- Measure Across Terminals: Probe the relevant terminals (refer to manual).
- Compare Readings: Typical resistance values range from 2, 10 kΩ.
Testing Wideband Oxygen Sensors
Wideband sensors are more complex. For basic checks:
- Check Heater Circuit: Set multimeter to ohms and probe heater terminals.
- Measure Output Voltage: Advanced multimeters or scan tools are recommended.
Warning: Wideband sensors often require specialized tools. Consult your vehicle’s service manual and consider professional testing.
Common Pitfalls And Troubleshooting
Some frequent mistakes include:
- Testing a cold sensor: O2 sensors only function when hot.
- Misidentifying wires: Incorrect probing leads to false readings.
- Ignoring wiring issues: Damaged harnesses cause sensor failure.
Advanced tip: Use the min/max feature to capture rapid voltage swings for more accurate diagnostics.

Credit: www.youtube.com
Interpreting Multimeter Readings: What Do The Numbers Mean?
Understanding what your multimeter readings signify is essential for accurate diagnosis. Both beginners and advanced users should know how to interpret common scenarios.
Normal Sensor Behavior
A healthy sensor exhibits:
- Rapid voltage fluctuations between 0.1V and 0.9V, averaging around 0.45V.
- Changes with throttle input: Revving the engine should cause richer (higher voltage) and leaner (lower voltage) readings.
Signs Of A Faulty Sensor
A malfunctioning O2 sensor can display:
- Constant voltage (stuck low or high)
- Slow response (delayed voltage changes)
- No output (zero voltage)
Example: When I tested a 2004 Honda Accord, the upstream O2 sensor showed a constant 0.1V. Replacing the sensor restored normal voltage swings and improved fuel efficiency.
Advanced Interpretation: Heater Circuit And Response Time
Most O2 sensors have a built-in heater. To check:
- Heater resistance: Should be within manufacturer specs (typically 8, 14 ohms).
- Sensor response time: Healthy sensors switch voltage at least once per second.
Pro Tip: If the sensor is slow to react, it may be contaminated or nearing end of life.
| Reading Type | Healthy Sensor | Faulty Sensor |
|---|---|---|
| Signal Voltage | Fluctuates 0.1, 0.9V | Stuck or slow change |
| Heater Resistance | 8, 14 ohms | Open circuit |
| Response Time | < 1 sec | Delayed |
Advanced Diagnostic Tips And Real-world Examples
For those looking to go beyond basic testing, advanced techniques can pinpoint intermittent issues and sensor degradation.
Using Oscilloscope For Detailed Analysis
An oscilloscope provides a visual representation of O2 sensor signals, revealing:
- Signal amplitude
- Switching frequency
- Noise or interference
While not required for beginners, advanced users benefit from seeing sensor operation in real time.
Case Study: Diagnosing Intermittent Failure
A 2012 Ford Fusion exhibited sporadic check engine lights. Multimeter readings appeared normal at idle, but revving the engine revealed voltage drops. Using the min/max feature, I captured brief sensor failures, leading to a targeted replacement.
Cross-referencing With Scan Tools
OBD-II scan tools can complement multimeter readings:
- Live data monitoring: Compare sensor voltage to ECU readings.
- Freeze frame data: Analyze sensor behavior during fault events.
Pro Tip: Use scan tool graphs to spot slow-switching sensors, which multimeters may miss.
Environmental Factors And Sensor Aging
O2 sensors degrade over time due to:
- Contamination (oil, coolant, silicone)
- Thermal cycling
- Mileage (most sensors last 60,000, 100,000 miles)
Regular testing every 30,000 miles is recommended, especially for older vehicles.
Comparing Oxygen Sensor Testing Methods
Different testing approaches offer varying degrees of accuracy and convenience. Here’s a comparison to help you decide which method suits your needs.
| Method | Equipment Needed | Accuracy | Skill Level | Cost |
|---|---|---|---|---|
| Multimeter | Digital multimeter | Good | Beginner/Intermediate | Low |
| Oscilloscope | Automotive oscilloscope | Excellent | Advanced | Medium/High |
| OBD-II Scan Tool | Scan tool | Good | Beginner/Intermediate | Medium |
| Professional Lab Testing | Specialized lab tools | Superior | Expert | High |
Multimeters are the most accessible for DIY users, while oscilloscopes and lab tests are reserved for professional diagnostics.
Maintaining And Replacing Oxygen Sensors
Proper maintenance and timely replacement of O2 sensors ensure your vehicle operates efficiently and meets emission standards.
Maintenance Tips
To extend sensor life:
- Use quality fuels and oils to reduce contamination.
- Fix engine leaks promptly (oil, coolant).
- Inspect wiring and connectors periodically.
Replacement Guidelines
Replace O2 sensors when:
- The check engine light points to sensor faults.
- Readings are consistently abnormal.
- Mileage exceeds recommended intervals (consult vehicle manual).
Warning: Always use OEM or high-quality replacement sensors for best results.
Example: Cost And Impact Of Sensor Replacement
Replacing a faulty O2 sensor can:
- Improve fuel efficiency by up to 10% (per EPA)
- Reduce emissions, helping pass state inspections
- Prevent further engine damage
Typical replacement costs range from $100, $300, depending on sensor location and vehicle model.
Common Mistakes And How To Avoid Them
Even experienced mechanics can make errors when testing O2 sensors. Recognizing these pitfalls helps ensure reliable diagnostics.
Mistakes Beginners Often Make
- Skipping the warm-up: Testing cold sensors gives false negatives.
- Incorrect multimeter settings: Use DC voltage, not AC or resistance for zirconia sensors.
- Misidentifying sensor location: Always check the manual.
Advanced Errors And Solutions
- Overlooking intermittent faults: Use min/max or scan tool features.
- Ignoring environmental contamination: Oil leaks can cause sensor failure not visible in readings.
- Replacing sensors without confirming wiring integrity: Always check harness and connectors.
Pro Tip: Take clear notes during testing, record voltage swings, response times, and sensor locations for future reference.
Environmental And Regulatory Impact
Oxygen sensors are not just for vehicle performance, they play a critical role in environmental compliance and public health.
Emissions Control
Properly functioning O2 sensors:
- Reduce harmful emissions (NOx, CO, HC)
- Ensure catalytic converter efficiency
- Support compliance with EPA and state standards
A single faulty sensor can increase emissions by up to 20% (per Wikipedia).
State Inspection And Legal Requirements
Many states require regular emissions testing. O2 sensor failure is a common cause for inspection failures. Maintaining sensors helps avoid fines and registration issues.
Example: Emissions Test Failure
A 2015 Toyota Camry failed its emissions test due to a faulty downstream O2 sensor. After replacement, emissions dropped within legal limits, and the vehicle passed inspection.
Frequently Asked Questions
What Are The Symptoms Of A Bad Oxygen Sensor?
Common symptoms include poor fuel economy, rough idling, increased emissions, and a persistent check engine light. Some vehicles may exhibit engine hesitation or misfire. Advanced scan tools can reveal more subtle symptoms, such as slow response times or erratic voltage swings.
Can I Drive With A Faulty Oxygen Sensor?
While driving with a faulty O2 sensor is possible, it is not recommended. Prolonged use can lead to catalytic converter damage, increased emissions, and reduced fuel efficiency. Some vehicles may enter limp mode, affecting performance. If the issue persists, consult a certified mechanic for diagnosis and repair.
How Often Should Oxygen Sensors Be Tested Or Replaced?
Testing is recommended every 30,000 miles or at each major service interval. Most O2 sensors last between 60,000 and 100,000 miles, depending on vehicle and driving conditions. Consult your owner’s manual for specific intervals, as environmental factors and fuel quality can impact sensor lifespan.
What Multimeter Features Are Best For Oxygen Sensor Testing?
Look for a multimeter with high input impedance (over 10 MΩ), min/max voltage recording, and a fast sampling rate. Advanced features like data logging and graphing can help diagnose intermittent faults. Some models also offer temperature probes to confirm sensor heating.
Can Oxygen Sensors Be Cleaned Instead Of Replaced?
While some DIY methods suggest cleaning O2 sensors, manufacturers and professionals generally do not recommend cleaning. Contaminants like oil and coolant can permanently damage the sensing element. Replacing the sensor is the most reliable solution for restoring performance and compliance.
Testing oxygen sensors with a multimeter combines practical skills with technical know-how. Whether you’re a beginner following step-by-step instructions or an advanced user employing scan tools and oscilloscopes, regular sensor checks are fundamental for vehicle health and compliance. Accurate diagnostics prevent unnecessary repairs, improve fuel economy, and support environmental responsibility.
With the right tools and careful attention, anyone can confidently assess O2 sensor functionality and keep their car running smoothly.